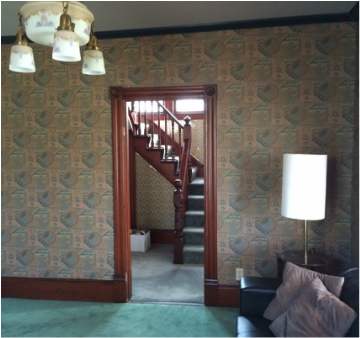
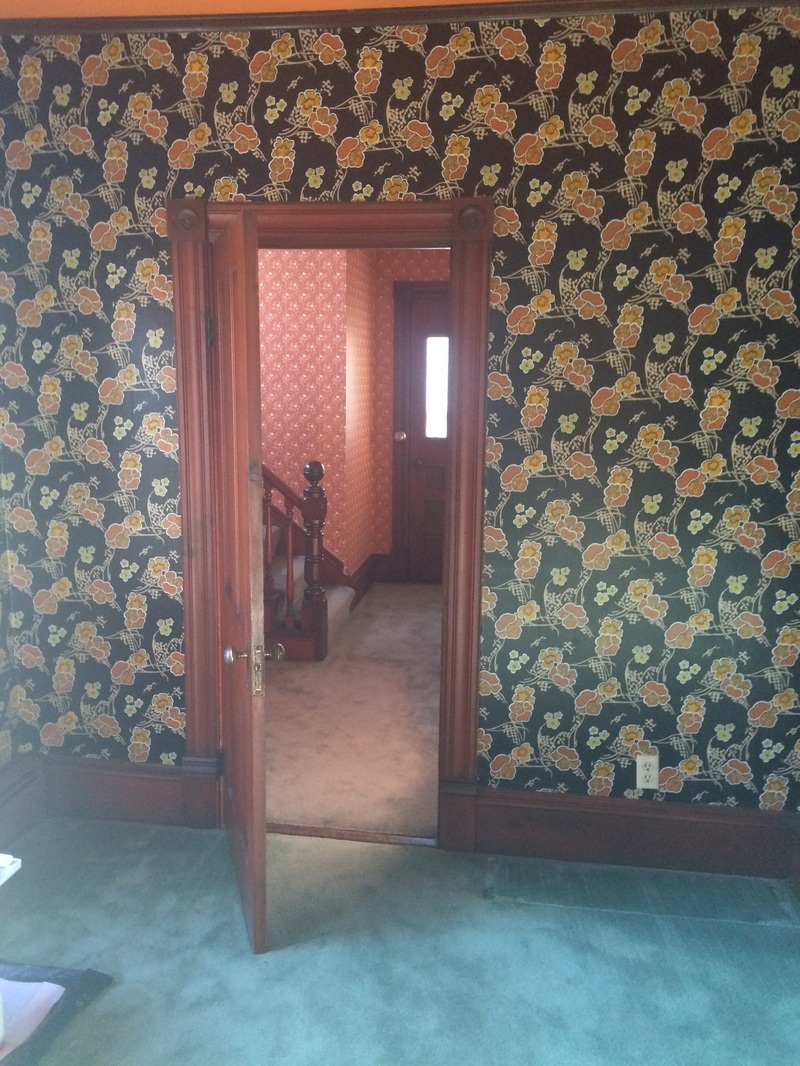
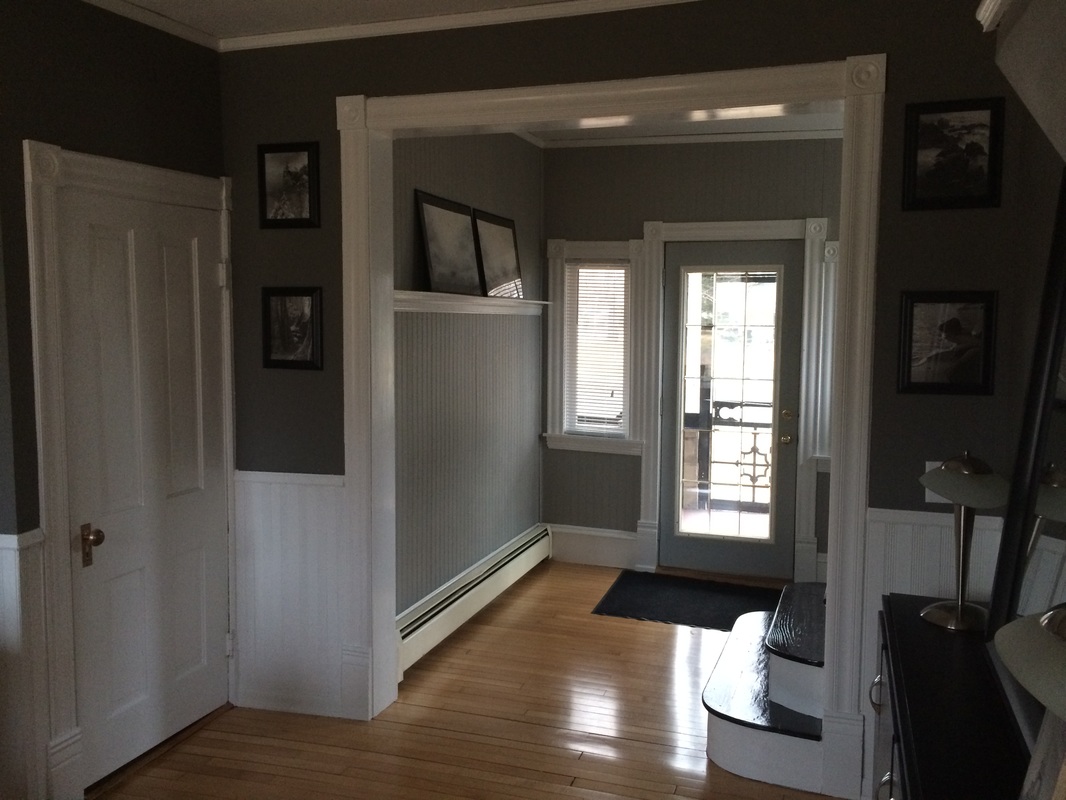
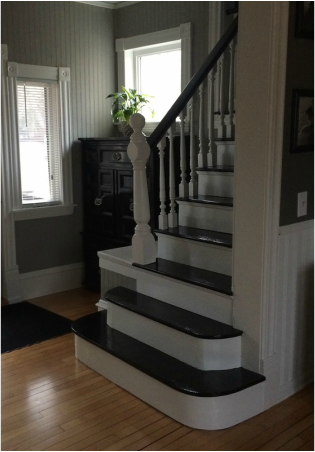
The Grand Staircase
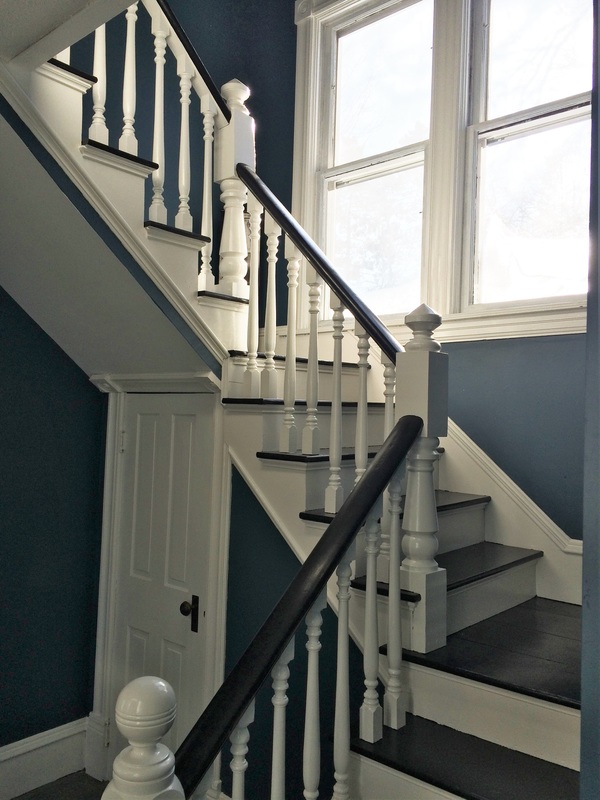
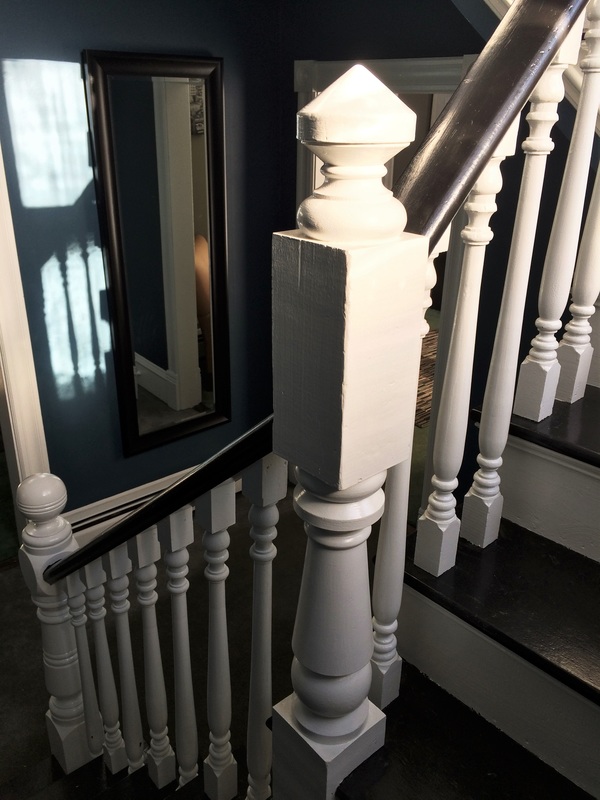
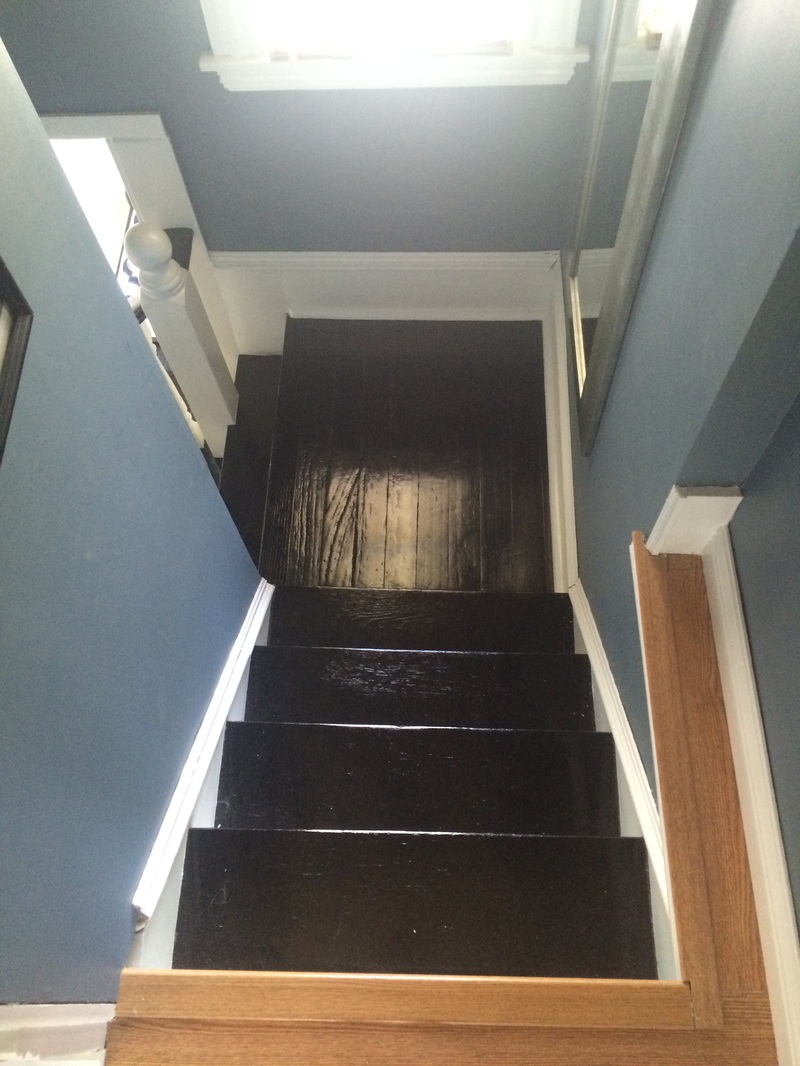
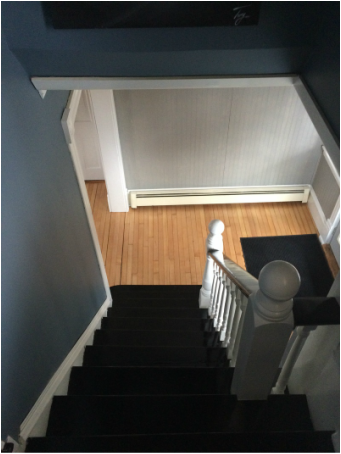
With high ceilings, an oddly arranged staircase, and multiple layers of wallpaper, I knew that this area was going to be a difficult space to remodel. And it WAS! lol The stair treads, raisers, and railing are painted on. Unlike the finish of the servant staircase S.S.P. (Sanded, stained, poly), I went for much easier/faster option. Using exterior high gloss, black porch paint and a good primer, I accomplished the same look with impressive durability at a fraction of the time it would have taken to SSP. I personally think this looks incredibly awesome! and matches the servant stair case effortlessly. The wall color is a custom mixed (Tony original) by using the remaining paint I had left over from other rooms, I created 2 gallons of a Navy inspired color that I think plays nicely with the Living rooms, 2nd level bedrooms and sitting rooms. FUN FACT: 2 gallons is SOooooo not enough paint to complete this area.lol But, Menards was able to color match this custom hue nicely! Note the subtle touch amber with the new light shades, painting and art work in this area. A node to great pumpkin color that once touched EVERY surface here. lol
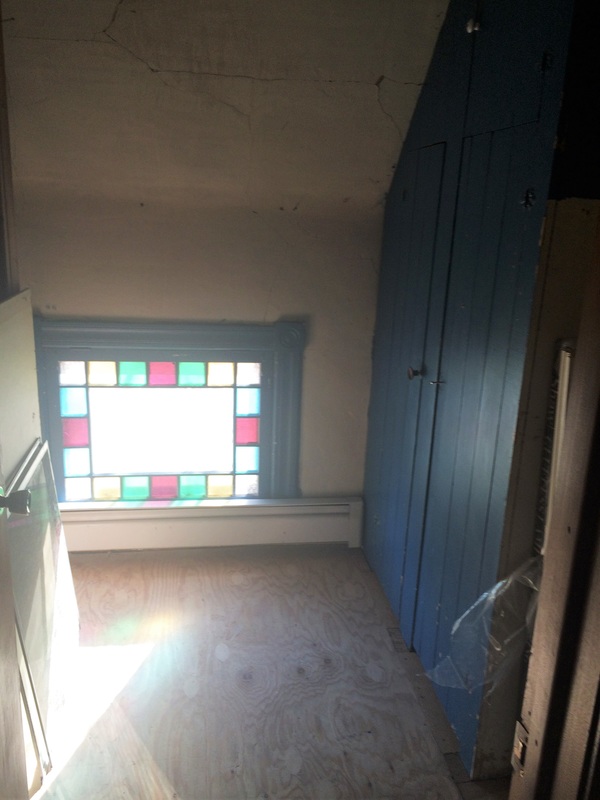
BEFORE: Main Staircase window.
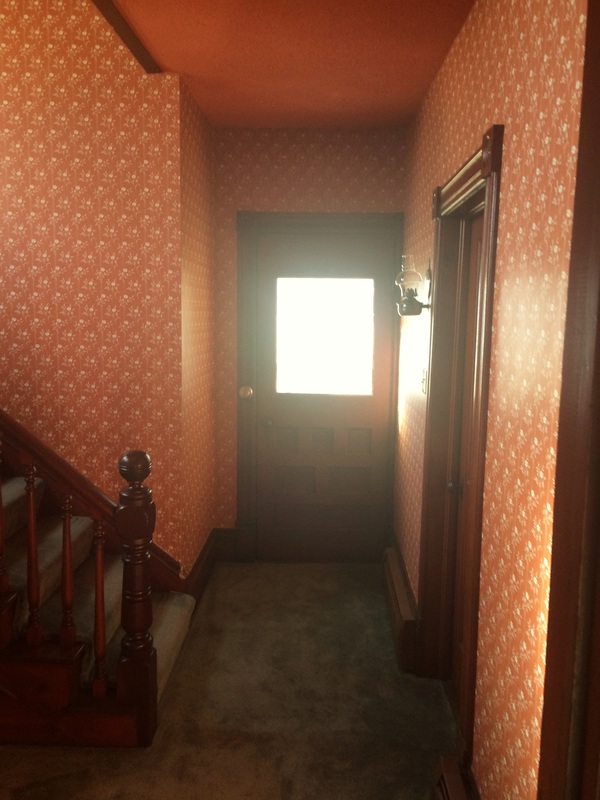
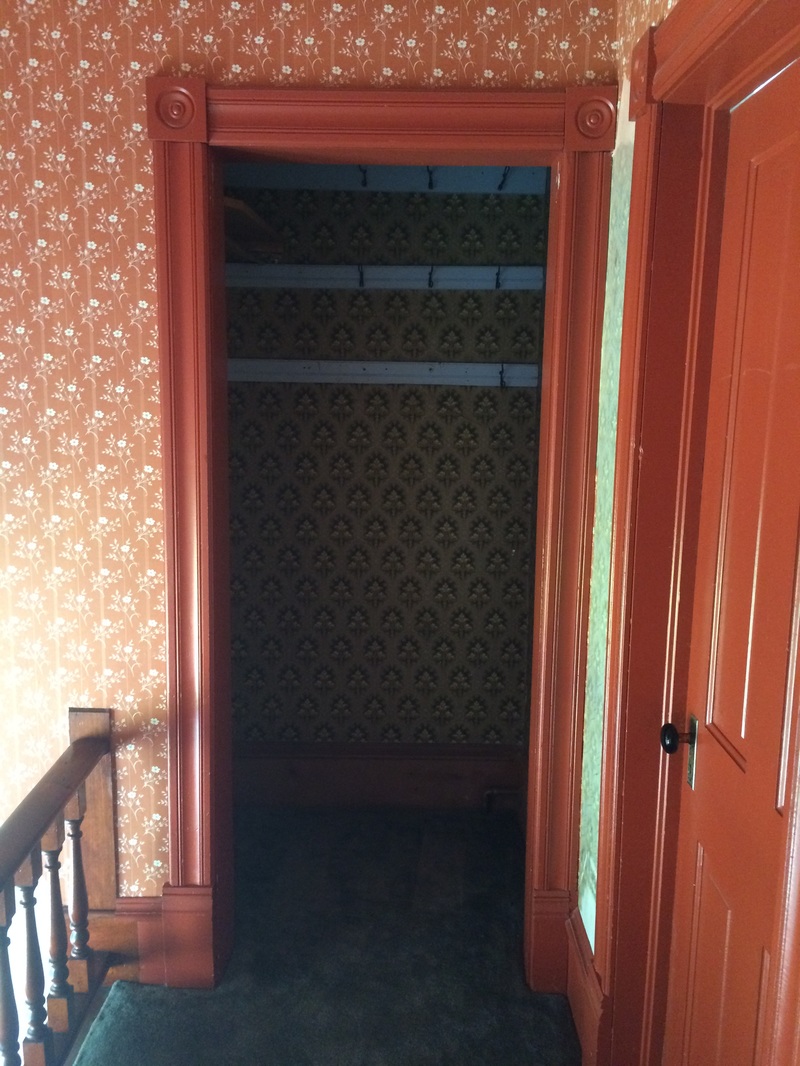
BEFORE: West Entry Way to main staircase. Orange on Orange! Really??!
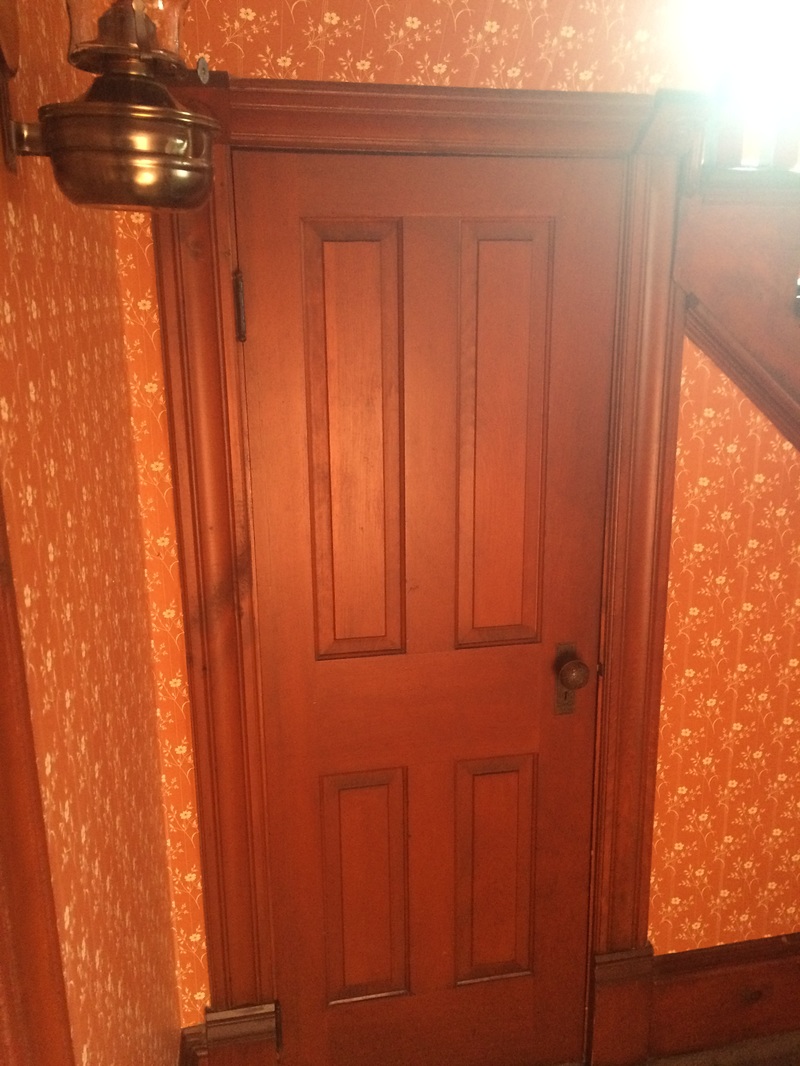
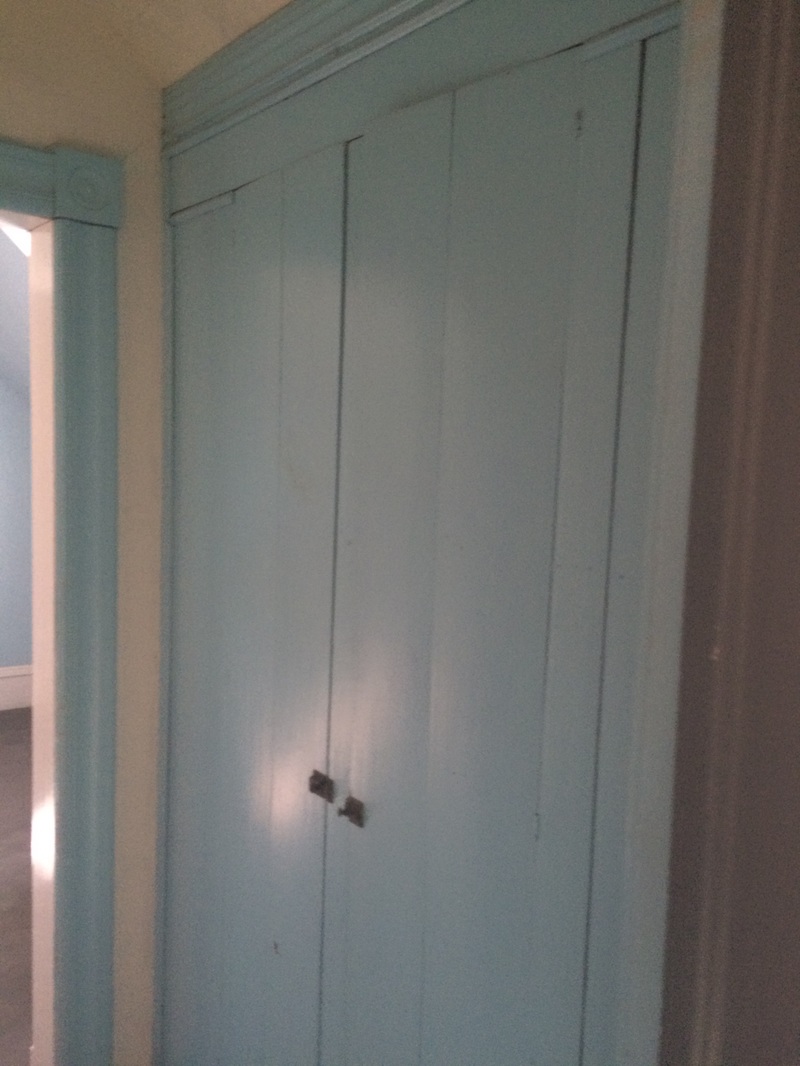
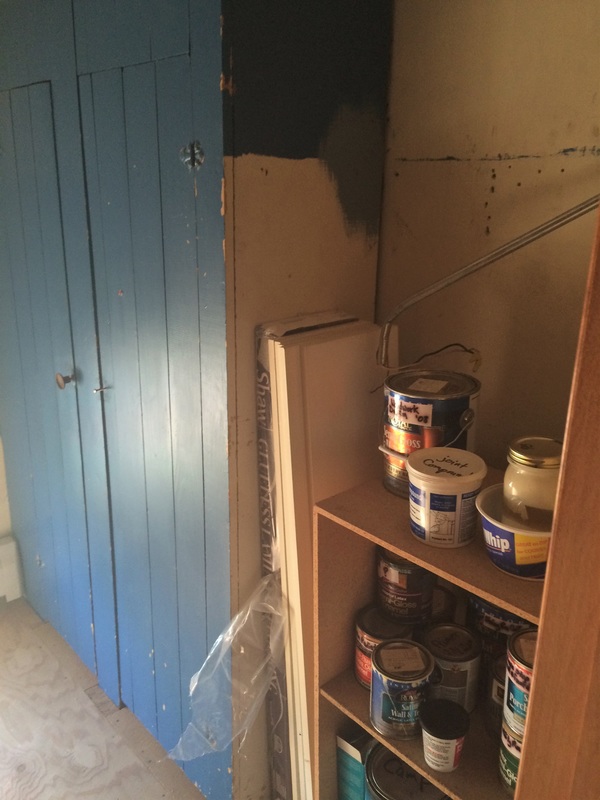
BEFORE: Coat Closet (Or Harry Potter Closet. lol)
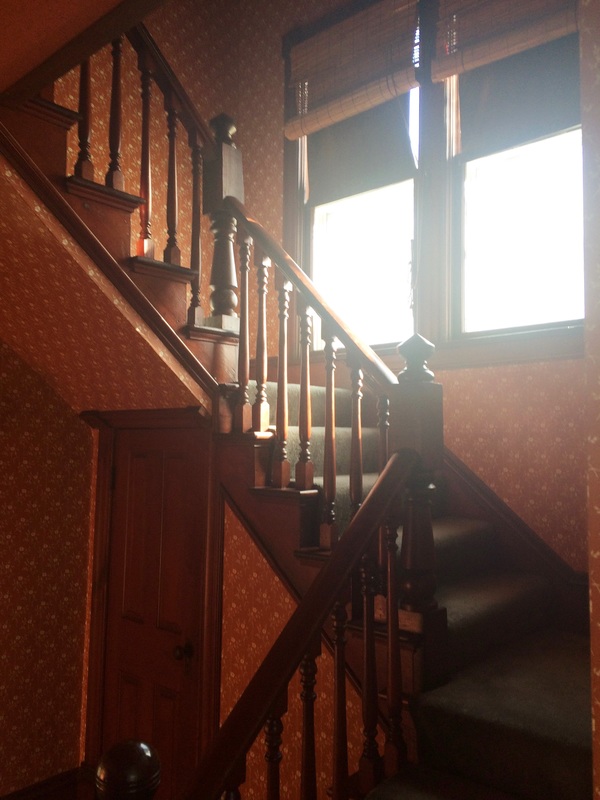
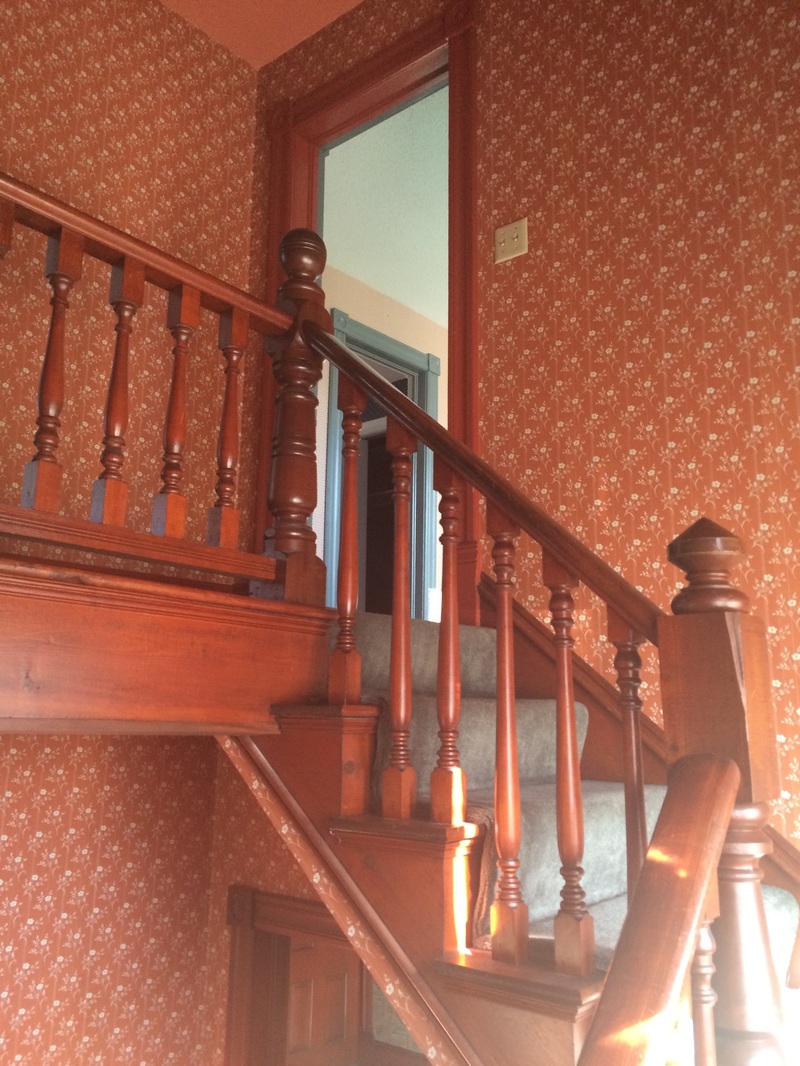
BEFORE: Main Staircase.
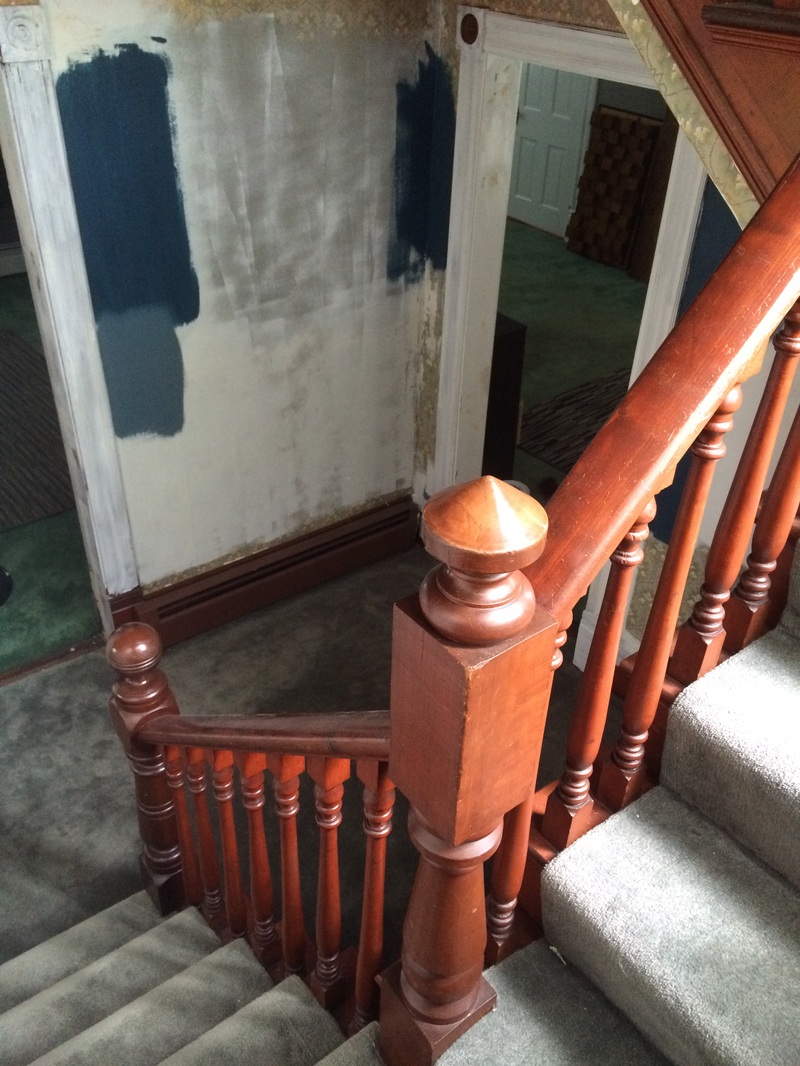
BEFORE: Landing from main staircase.
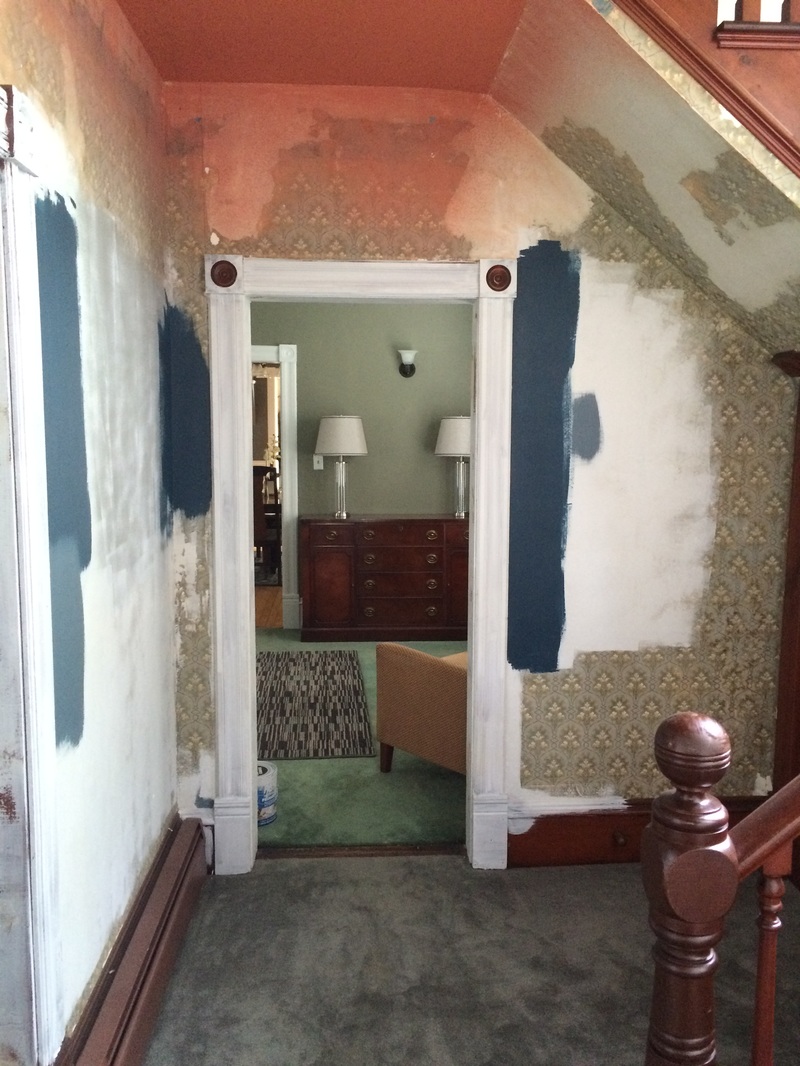
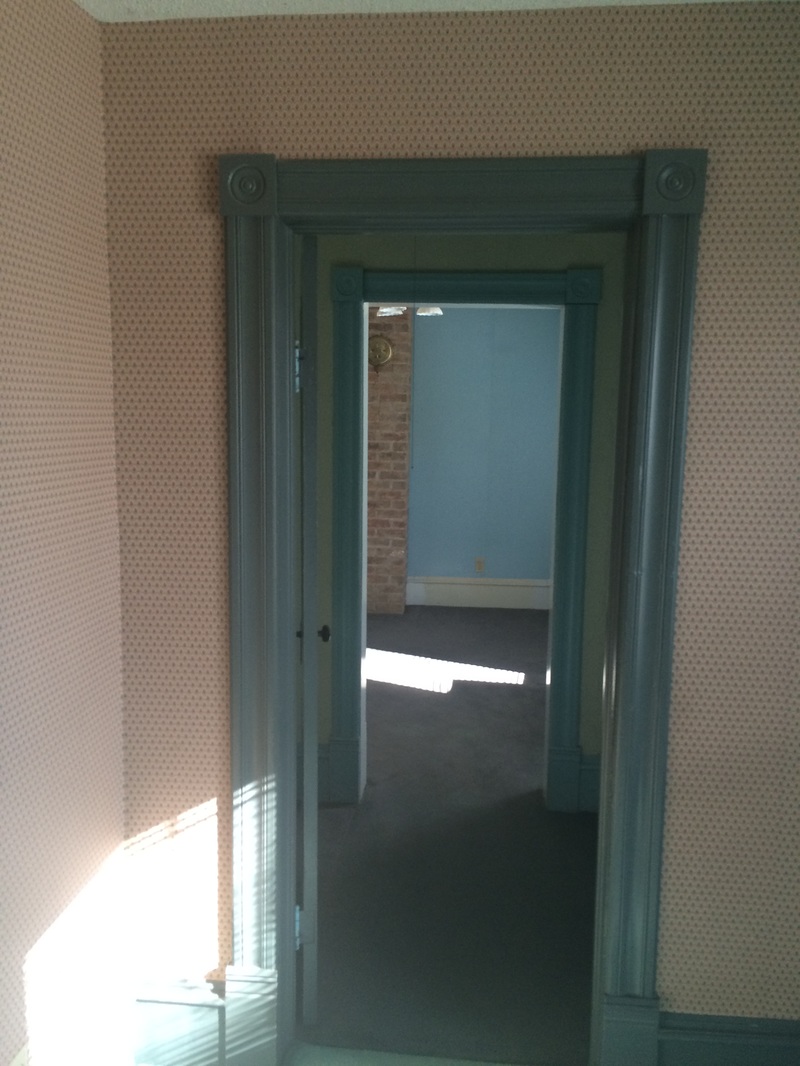
BEFORE: From west entry to Living Rooms.
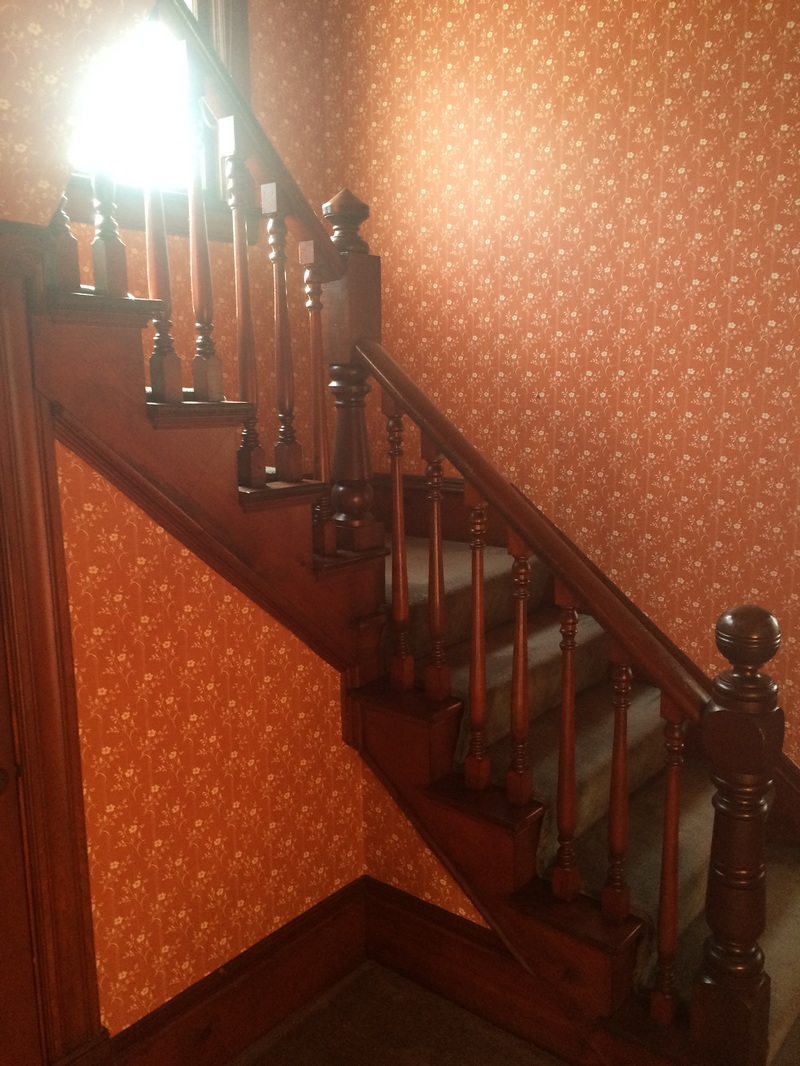
BEFORE: Main staircase.
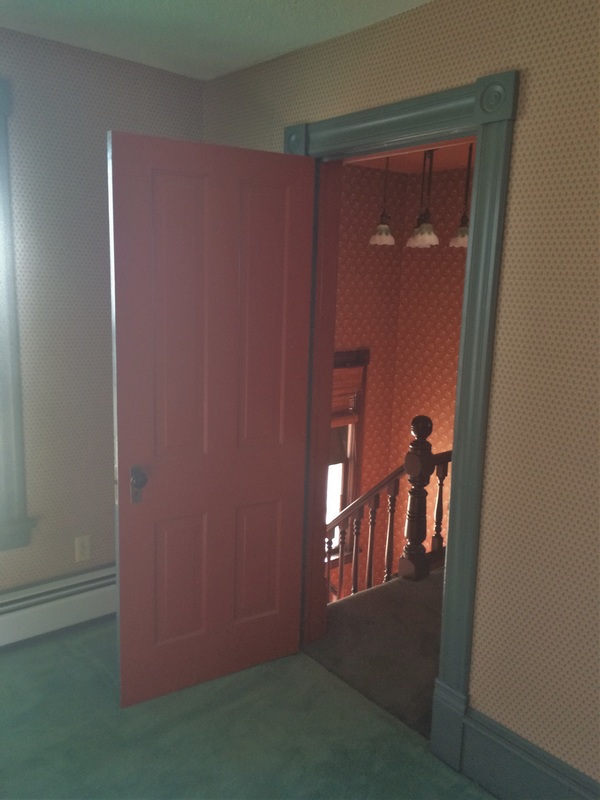
BEFORE: View of west entry from main staircase.
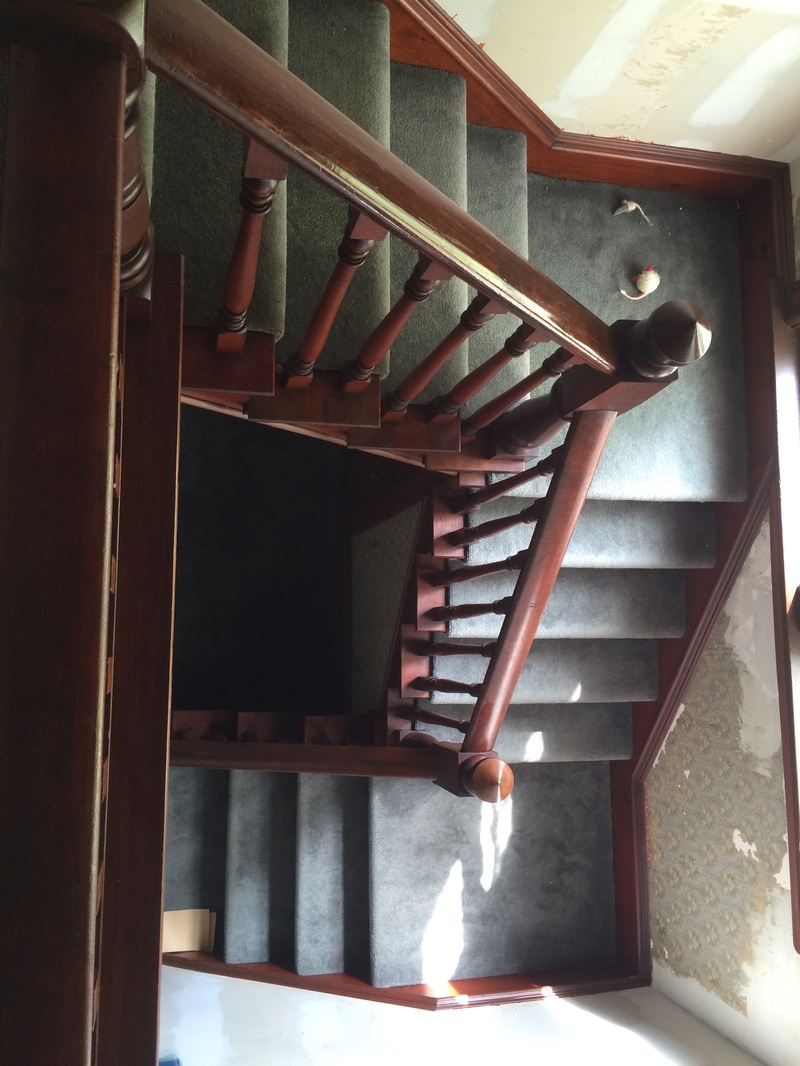
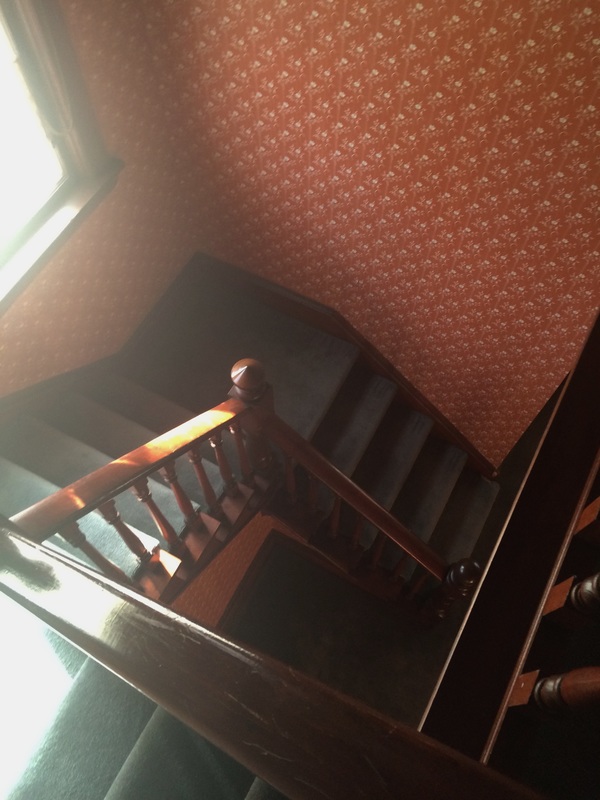
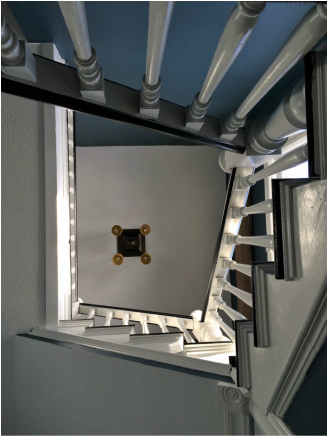
BEFORE: Arial view of main staircase from balcony.

BEFORE: Ceiling of west Entry way. Guess what? It's Orange too.
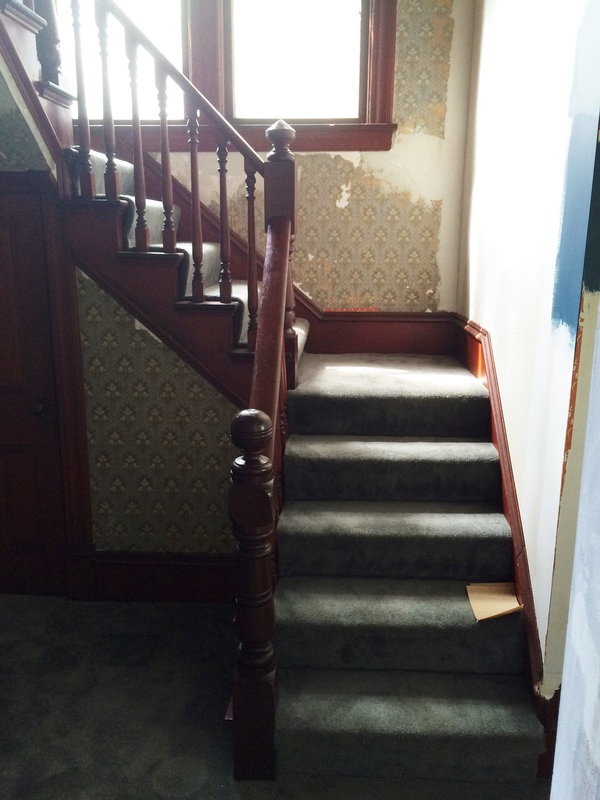
BEFORE: Main staircase.
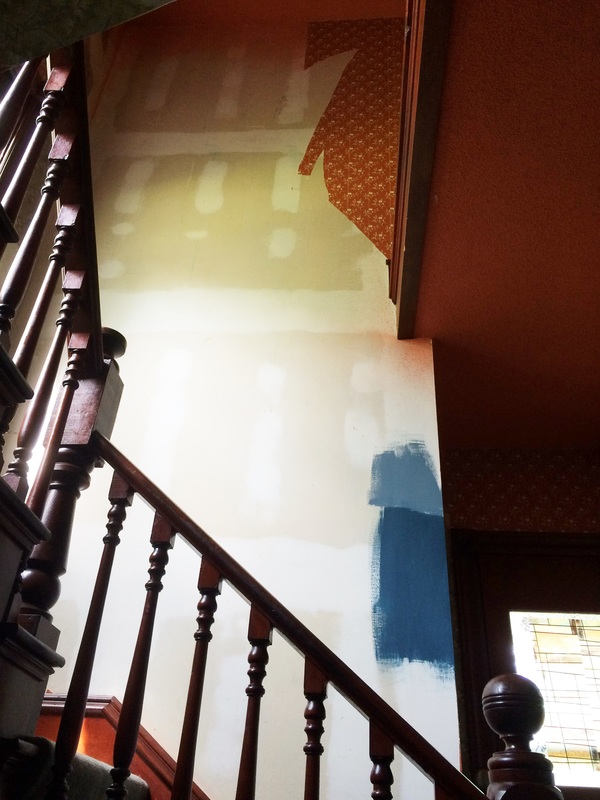
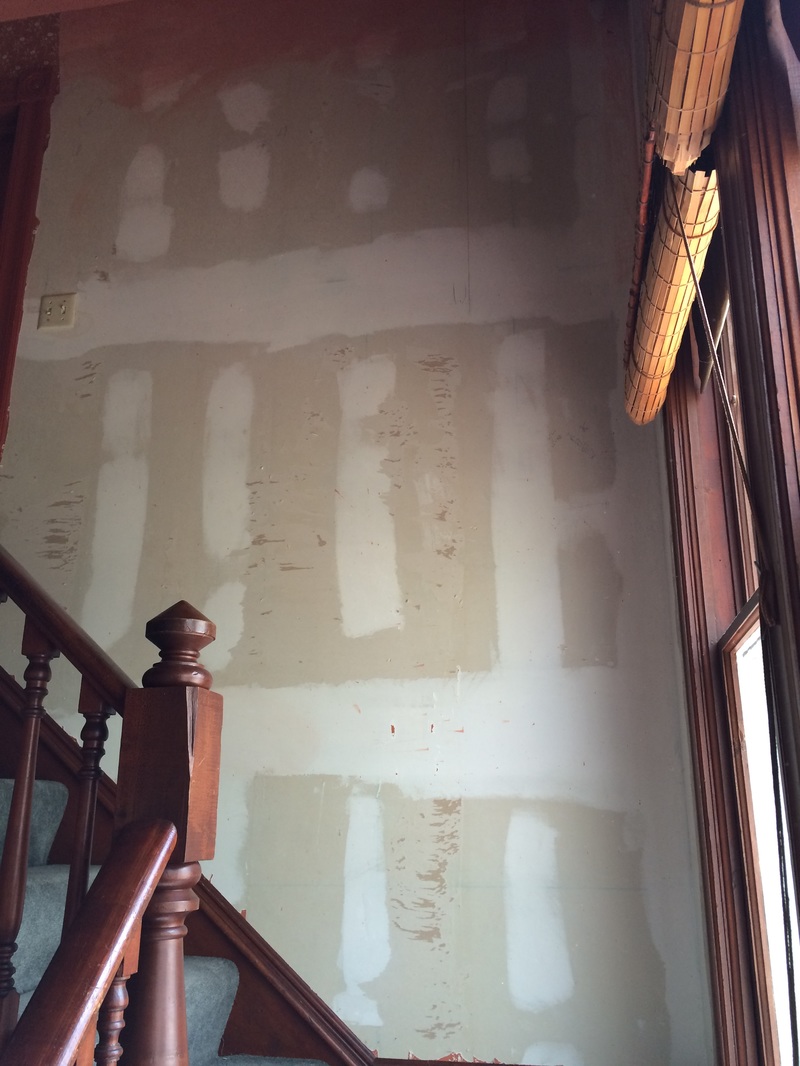
BEFORE: Main staircase wall. with no green wallpaper underneath!
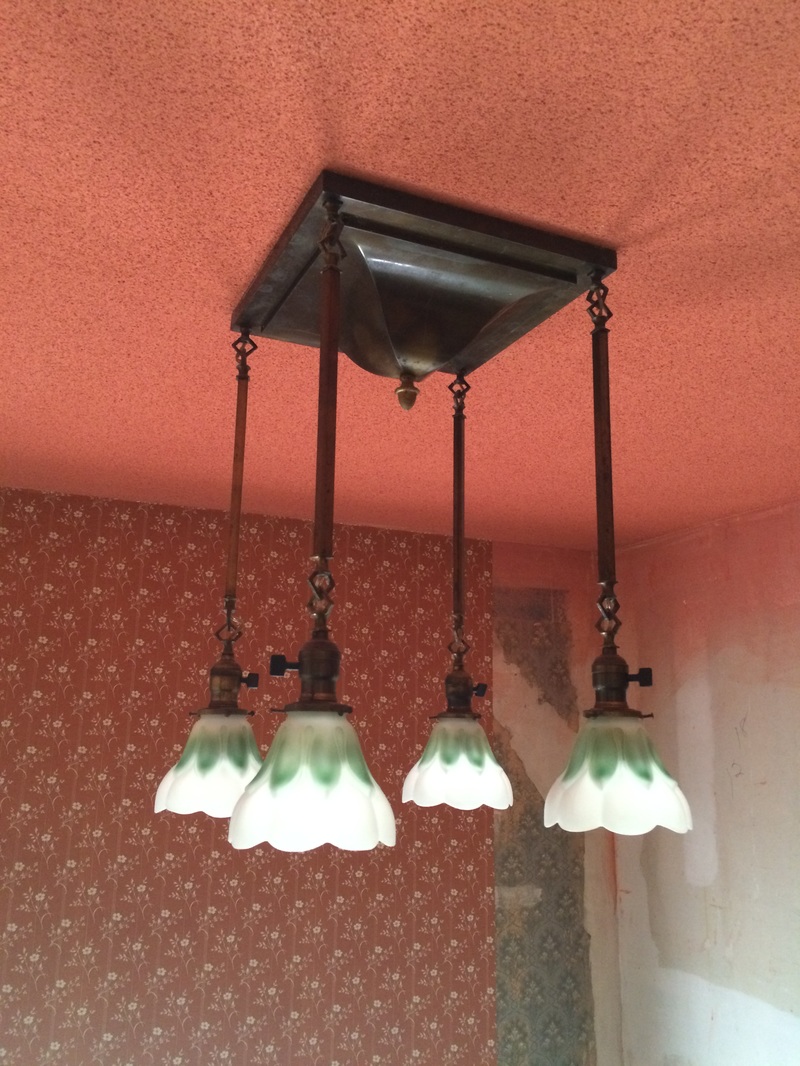
BEFORE: Main Staircase light.
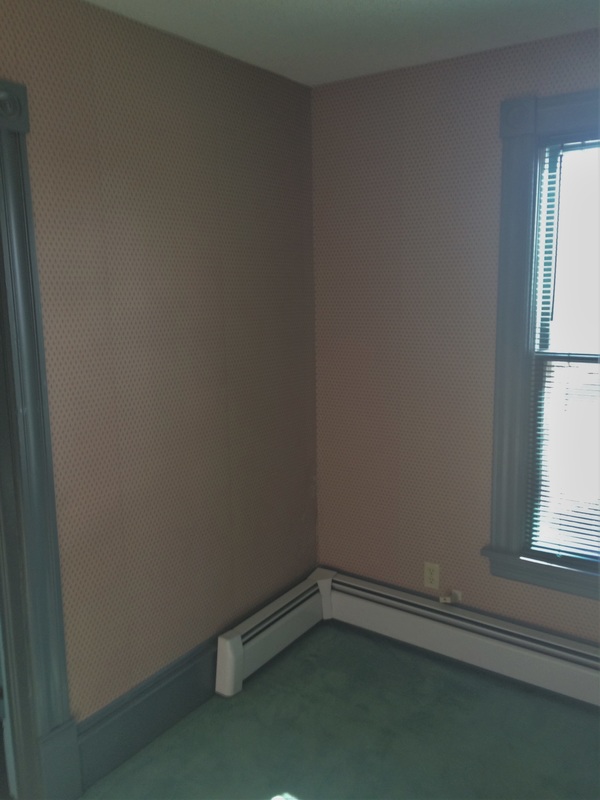
BEFORE: West Attic access and spare bedroom.
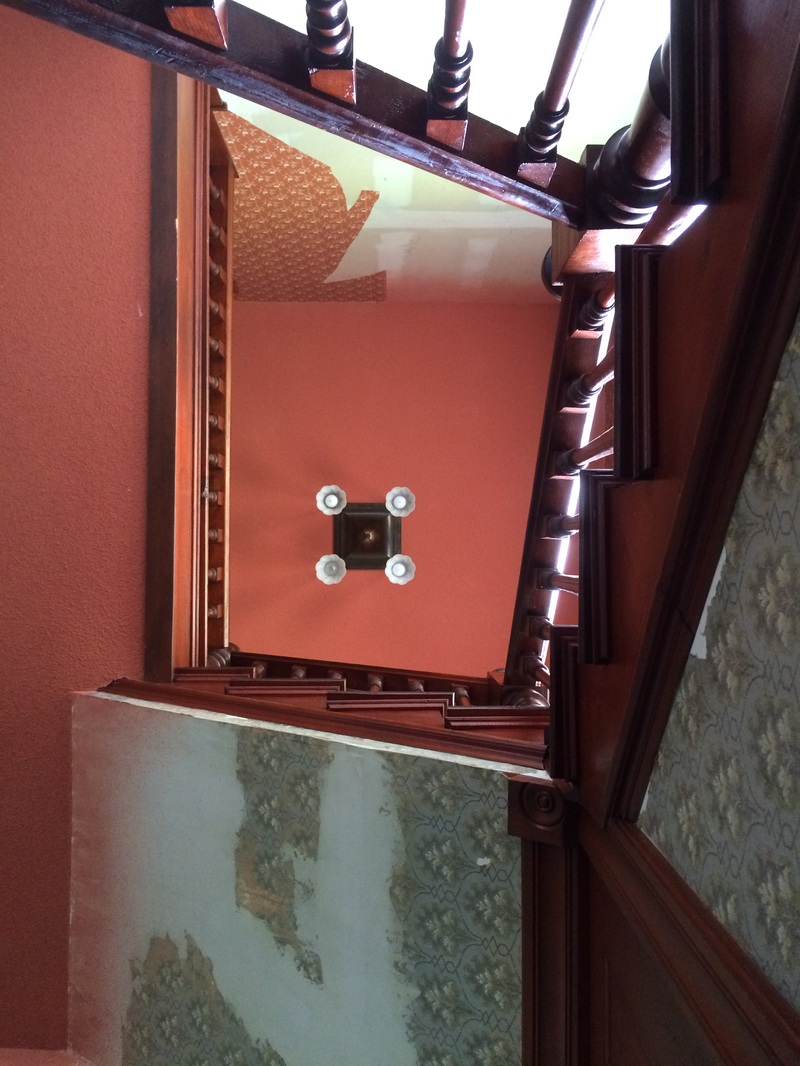
BEFORE: Ceiling view of main staircase. More orange!
BEFORE: East wall of Main staircase.
|
AFTER: Main Staircase window.
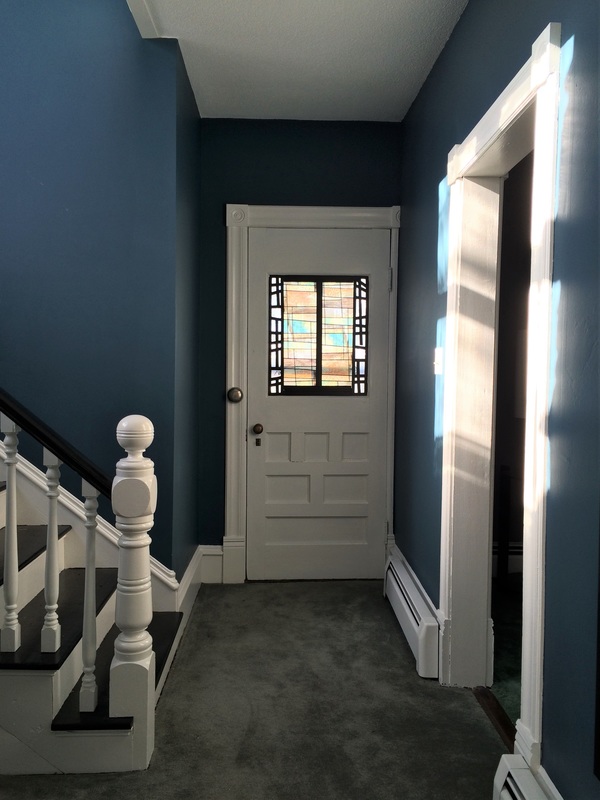
AFTER: West Entry Way to Main Staircase. Orange be gone!
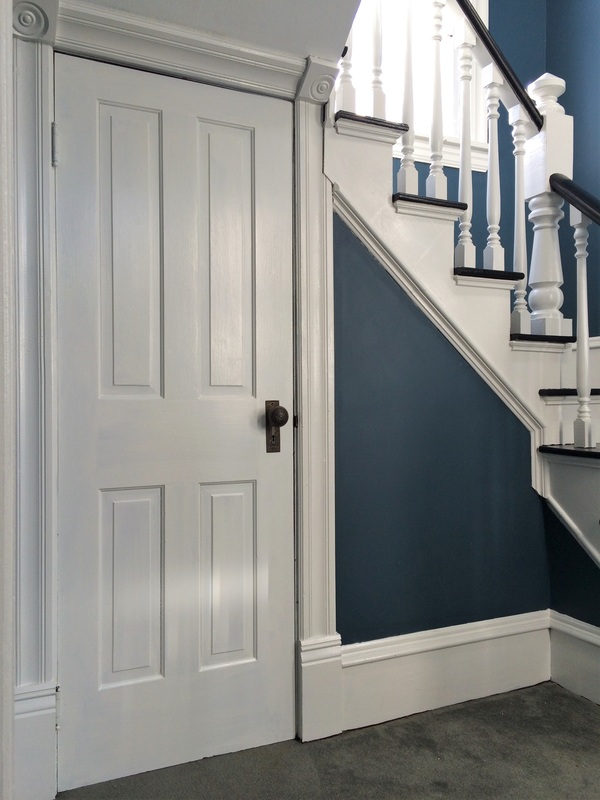
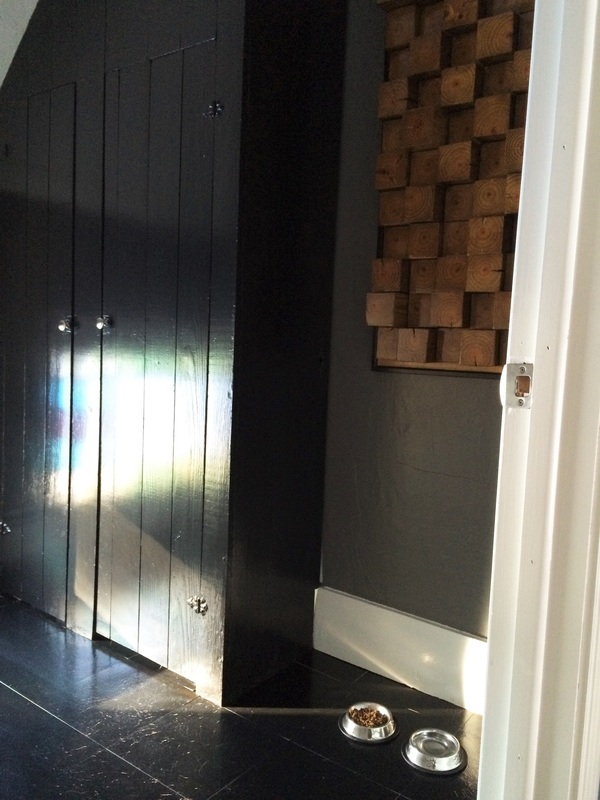
AFTER: Coat Closet.

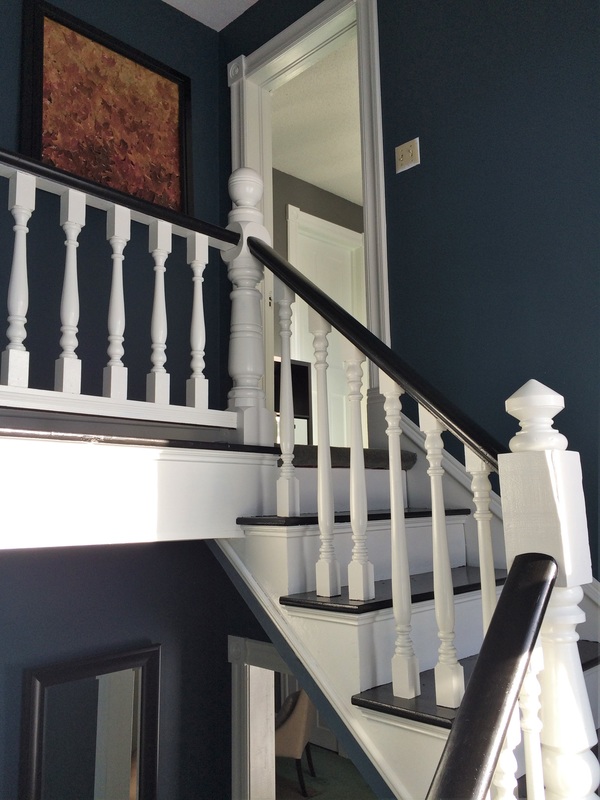
AFTER: Main Staircase.
AFTER: Landing from main Staircase.
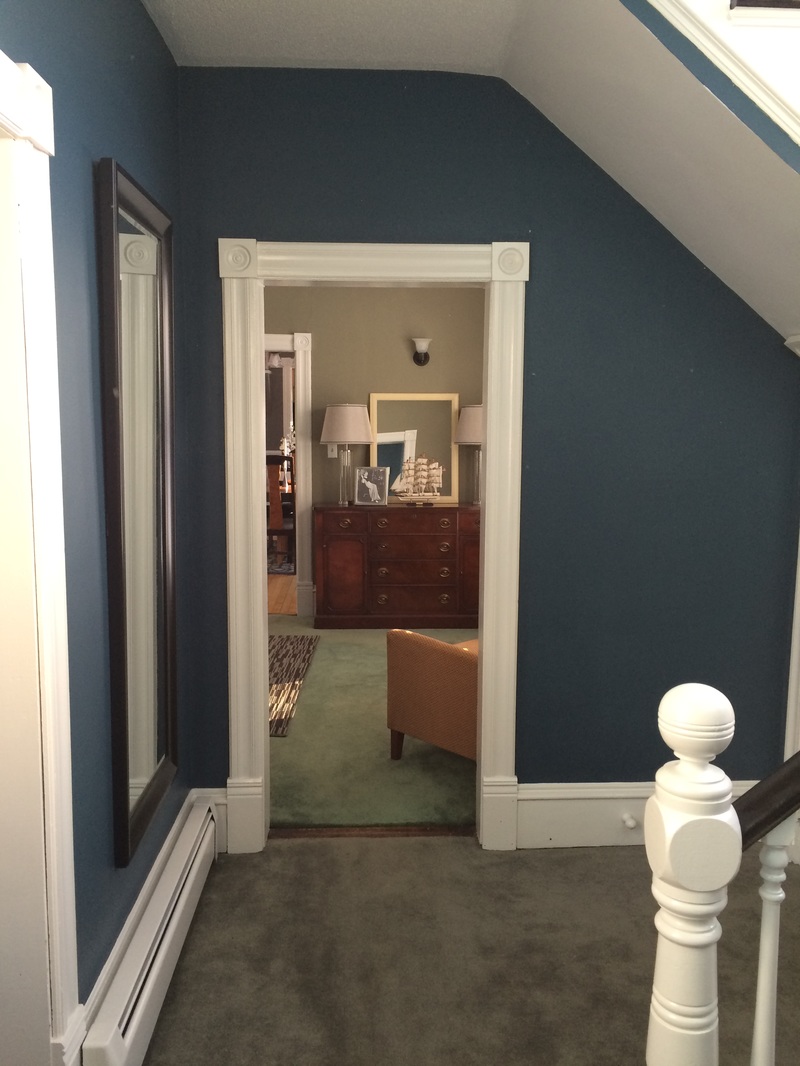
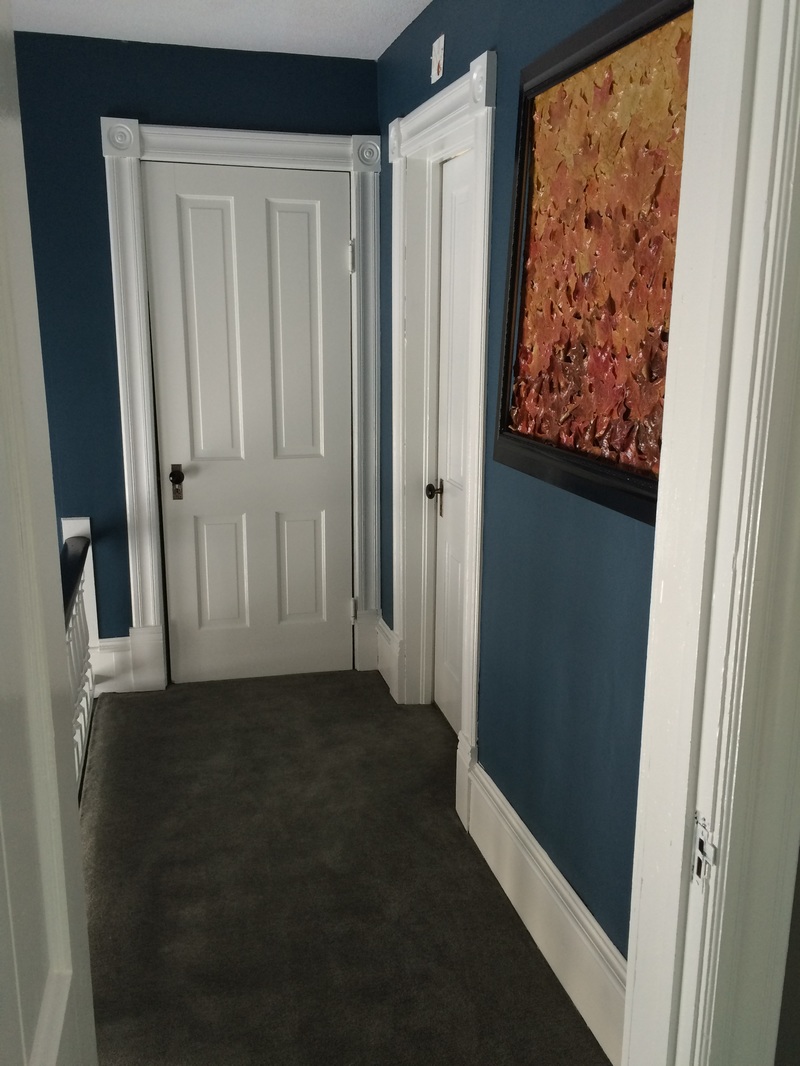
AFTER: From west entry to Living Rooms.
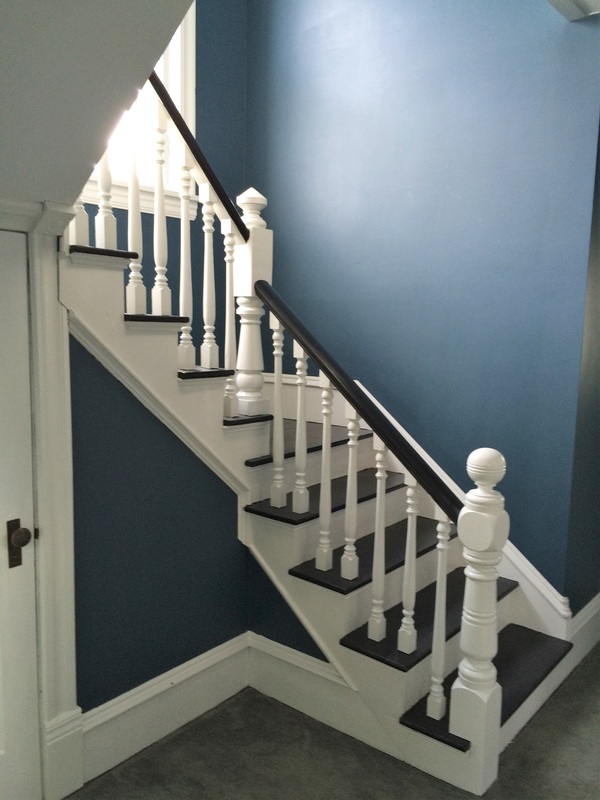
AFTER: Main Staircase.
AFTER: View of West Entry from Main Staircase.
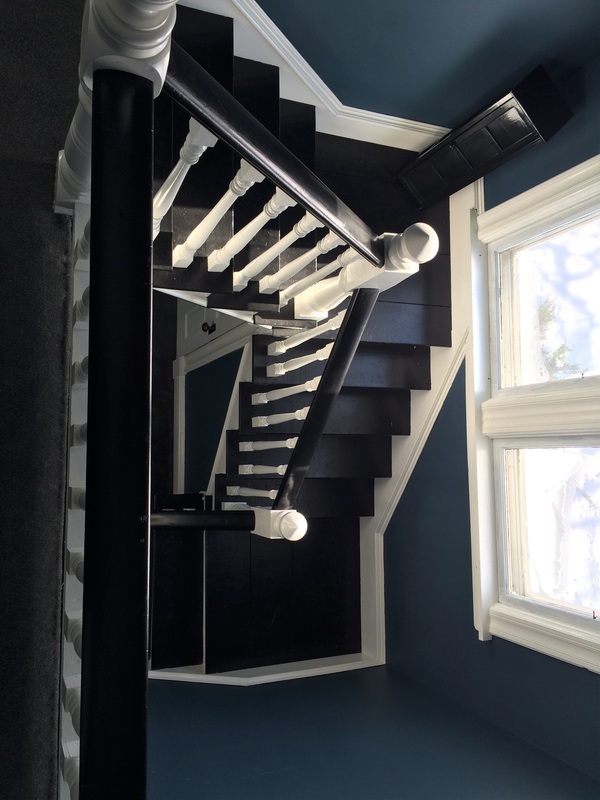
AFTER: Arial view of Main Staircase from balcony.
AFTER: Ceiling od West Entryway. NO more orange!
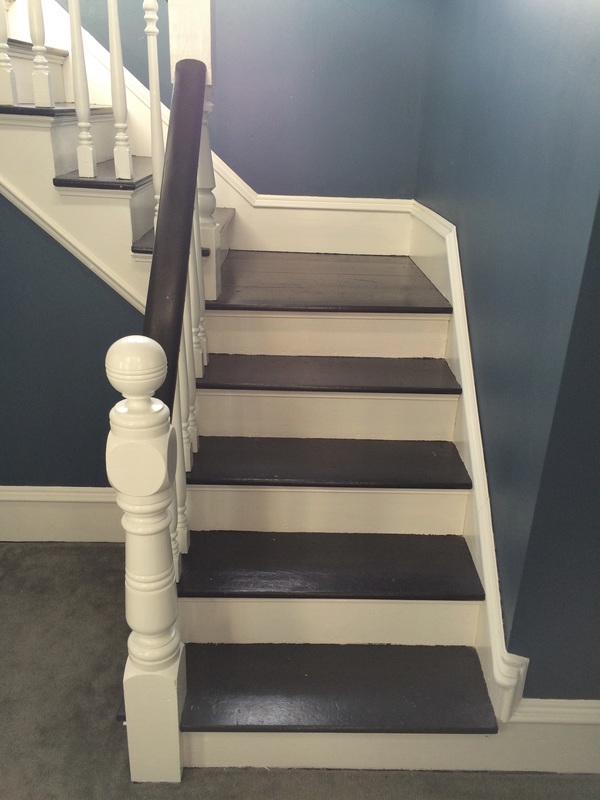
AFTER: Main Staircase.
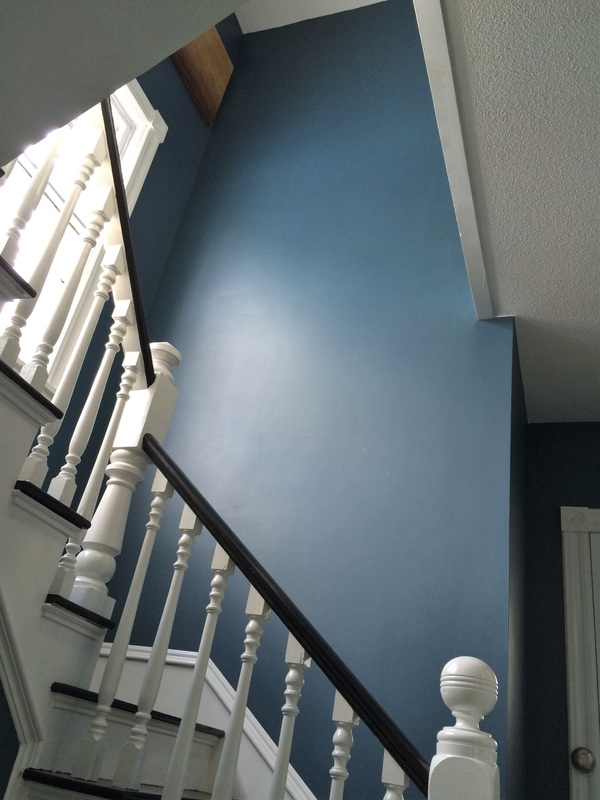
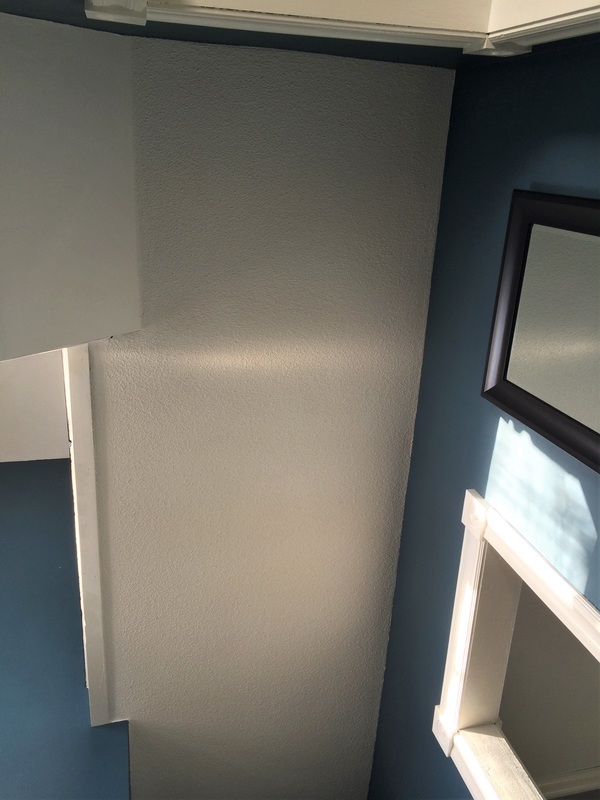
AFTER: Main Staircase wall.
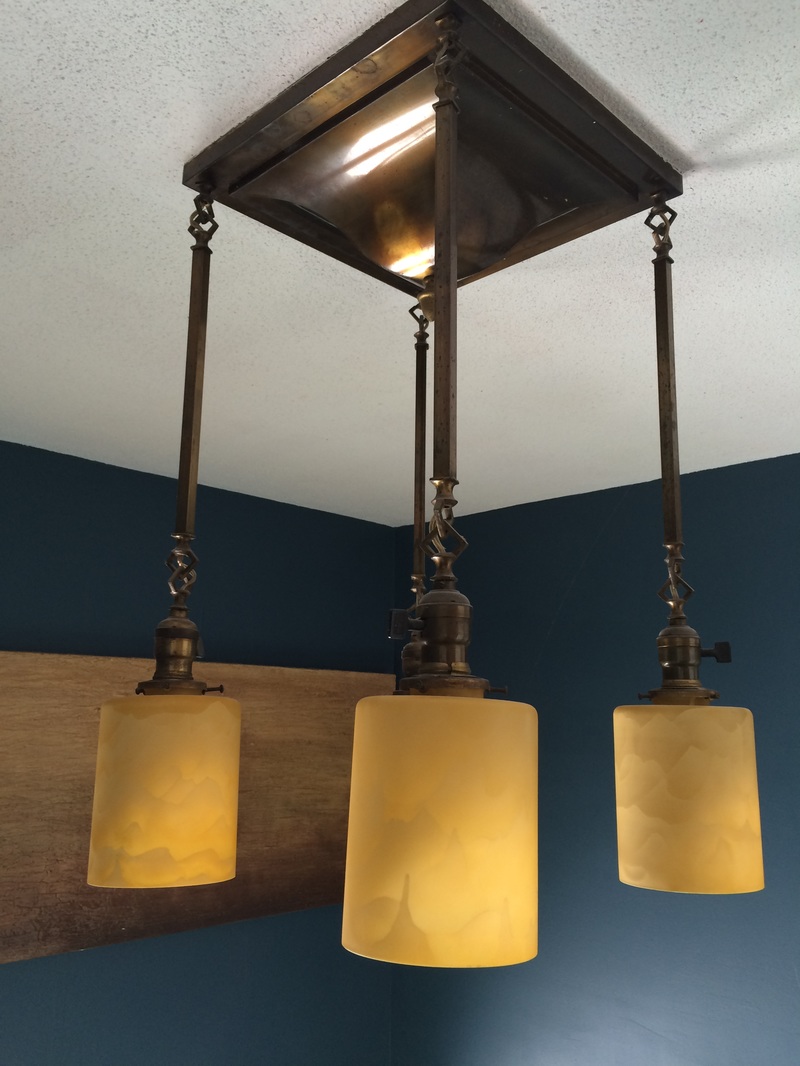
AFTER: Main Staircase light. Replaced shades for a modern look.
AFTER: West Attic access and spare bedroom.
AFTER: Ceiling view of Main staircase.

AFTER: East wall of Main staircase.
|
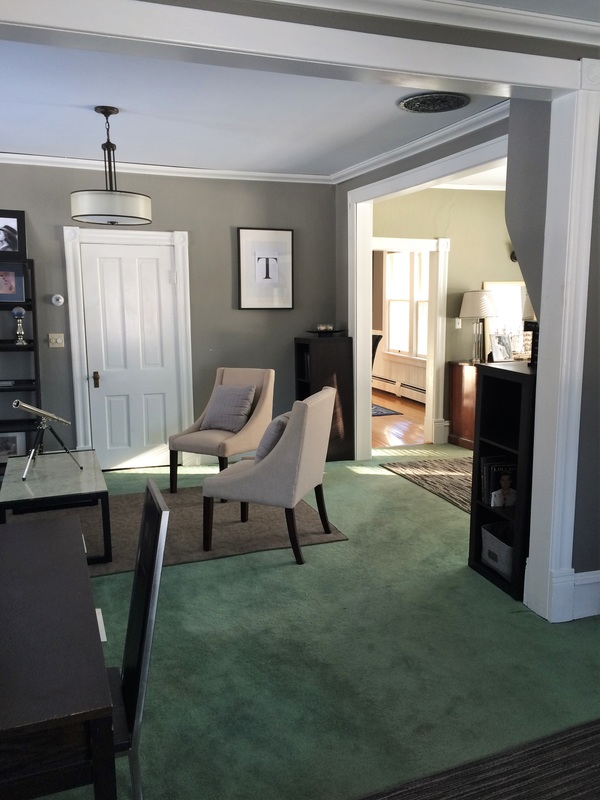
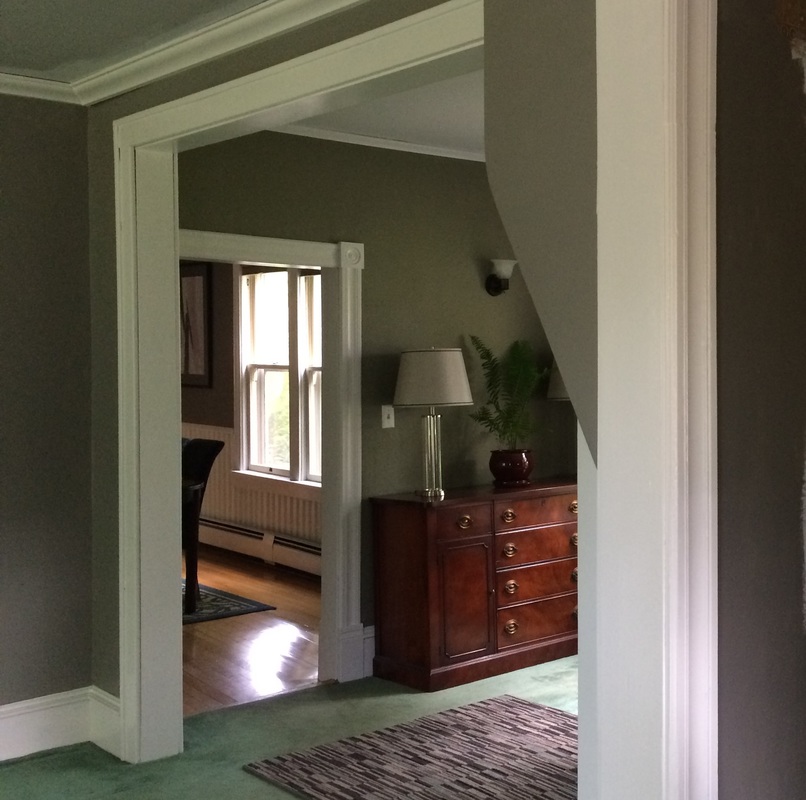
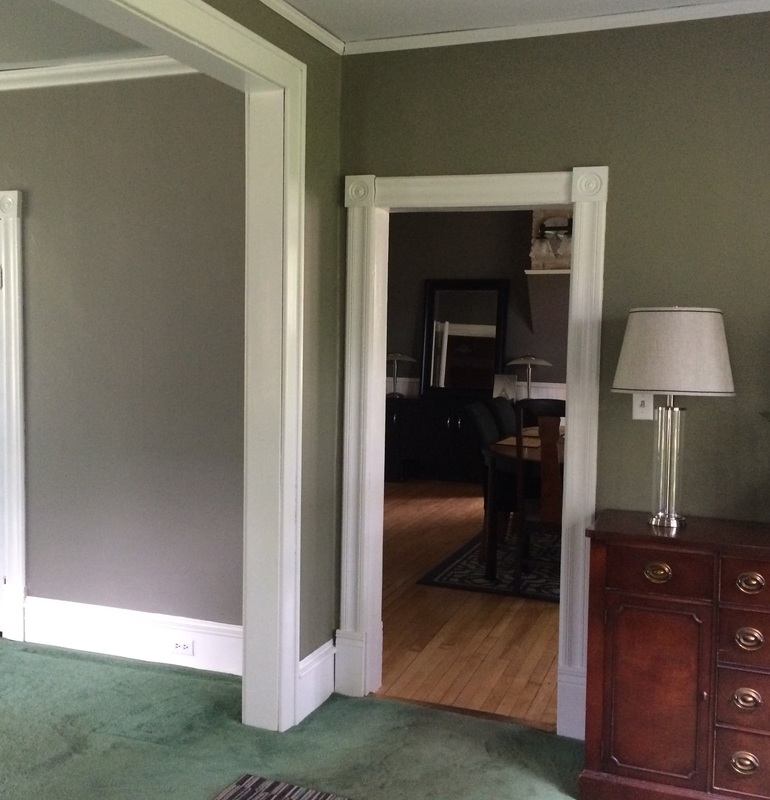
Sitting Room
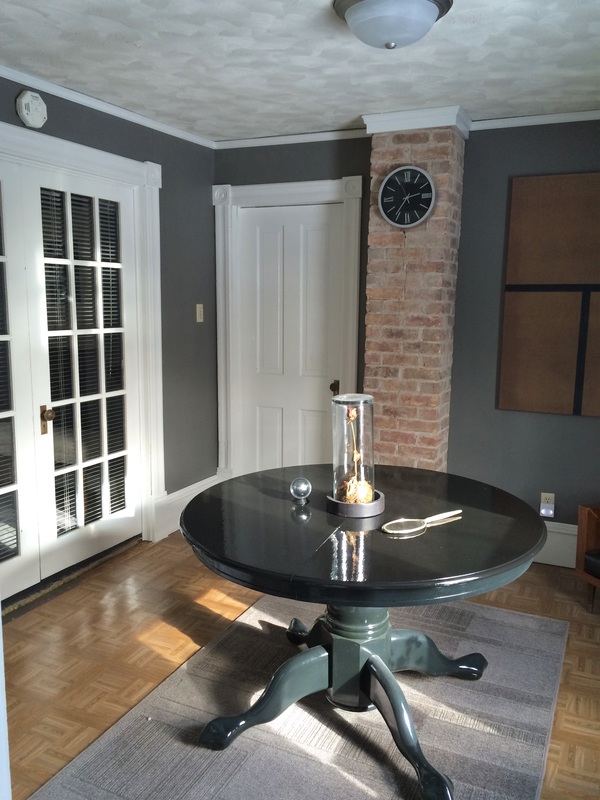
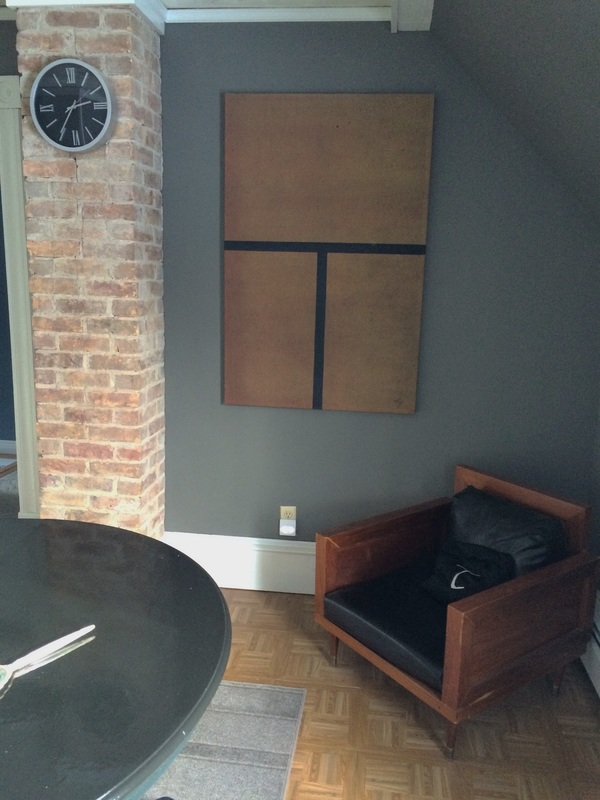
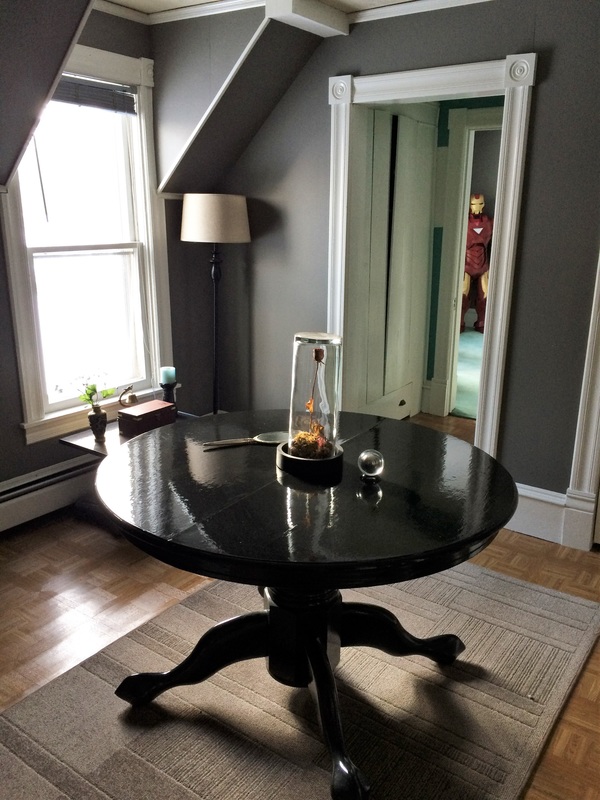
This being sitting room outside of my bedroom, I wanted easy flow between the main staircase, East wing of the house, and my bedroom. SO, what color would be best to complement all of these other area's? Right, GREY! It's technically a custom mix color of various greys so, lets call this one: Dorian Grey by Tony.lol Iron Man has a new home in this room and my cat seems to like it but, one really doesn't have too many uses for a sitting room now a days. regardless, here one of mine.
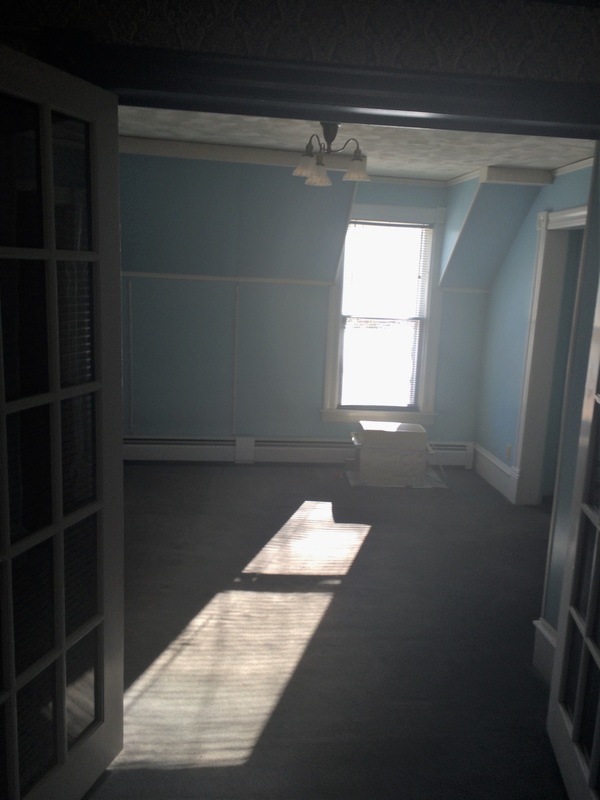
BEFORE
BEFORE
BEFORE
|
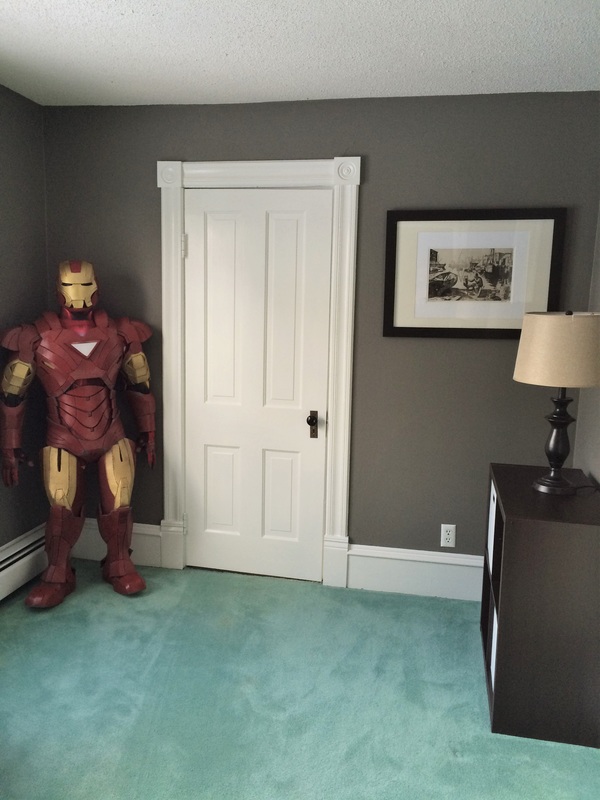
AFTER
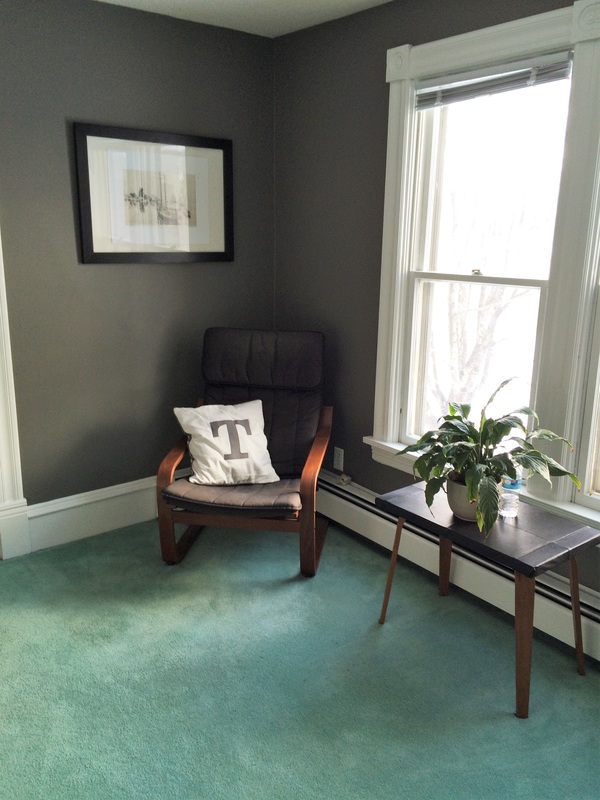
AFTER
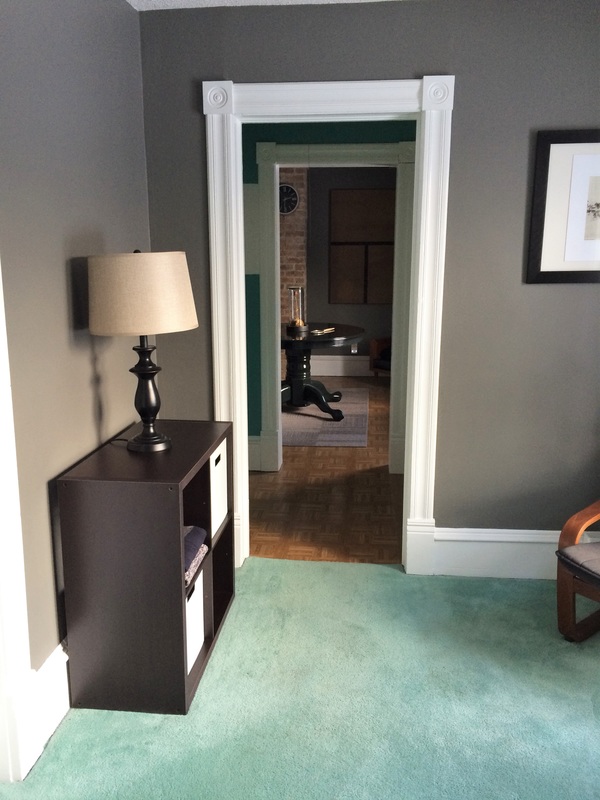
AFTER
|
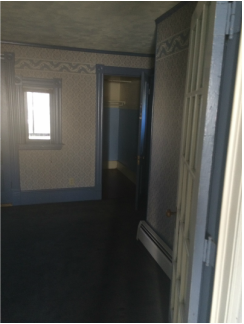
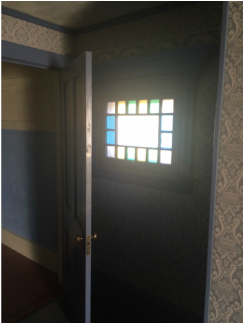
Hallway to Study
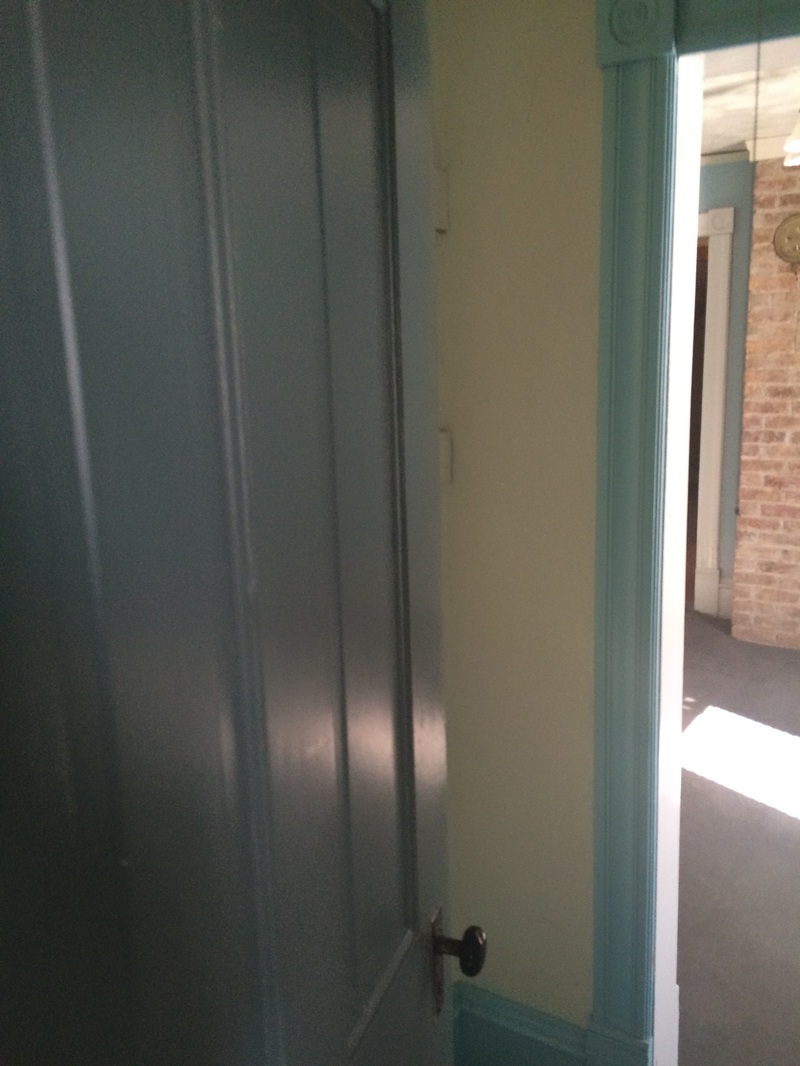
SURPRISE! a color that is NOT Black or Grey! lol I chose this poppin (Tipper Teal By Dutch Boy) color for this hallway area 1.) To break up the 50 shades of Grey I have throughout. and 2.) To pull the color of the Teal carpet up and make the carpet color seem almost intentional. As I've mentioned in multiple entries, I did not choose this teal carpet but, am determined to make it look as good as possible until I can replace the flooring. don't tell anyone but, I kinda like how it looks..
BEFORE
BEFORE
|
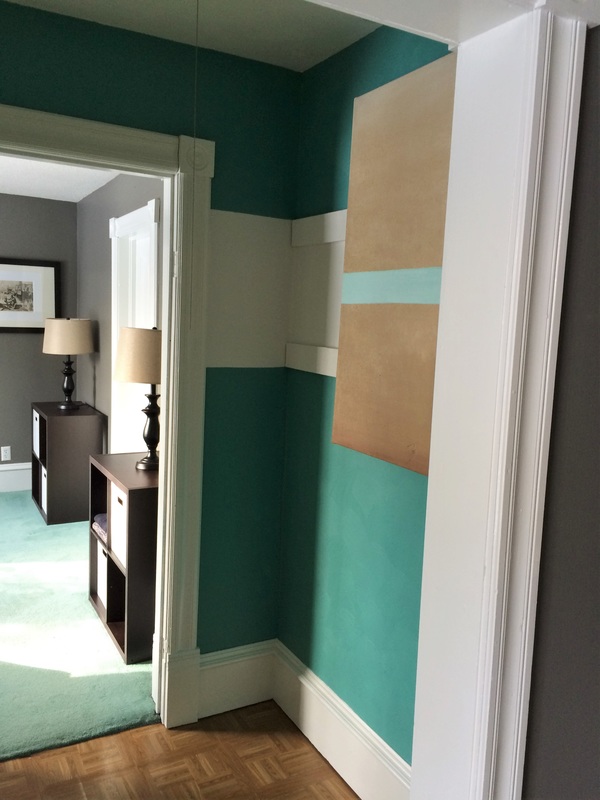
AFTER

AFTER
|
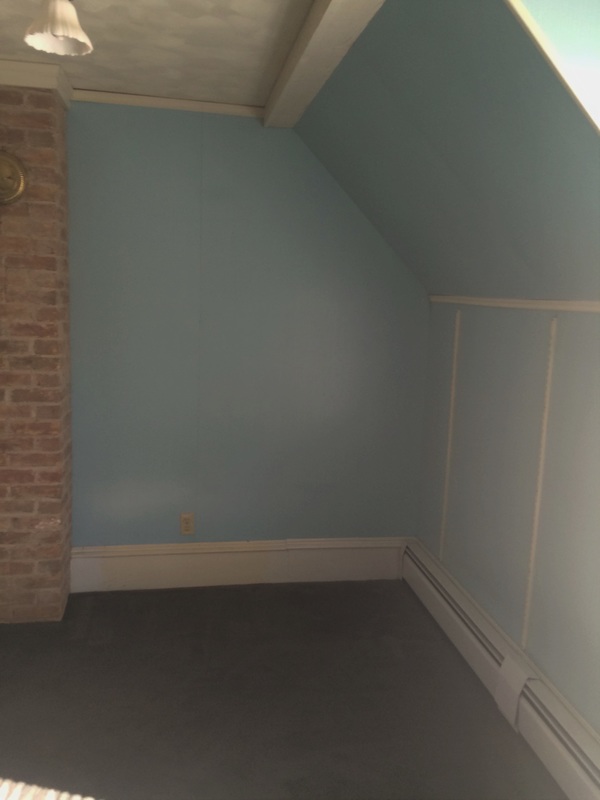
Study? Office? Sitting?
This....multi purpose room could server very well as an Office, Study, Sitting, or technically a bedroom. I've chosen to use it as a lobby of sorts for the Lounge. Here I chose a wood grain vinyl tile that will probably be replaced with high gloss black, but it's an improvement from the stained carpet that was originally here. Simple furnishings for a simple room make this the perfect walkthrough on your way to the east wing of the house.
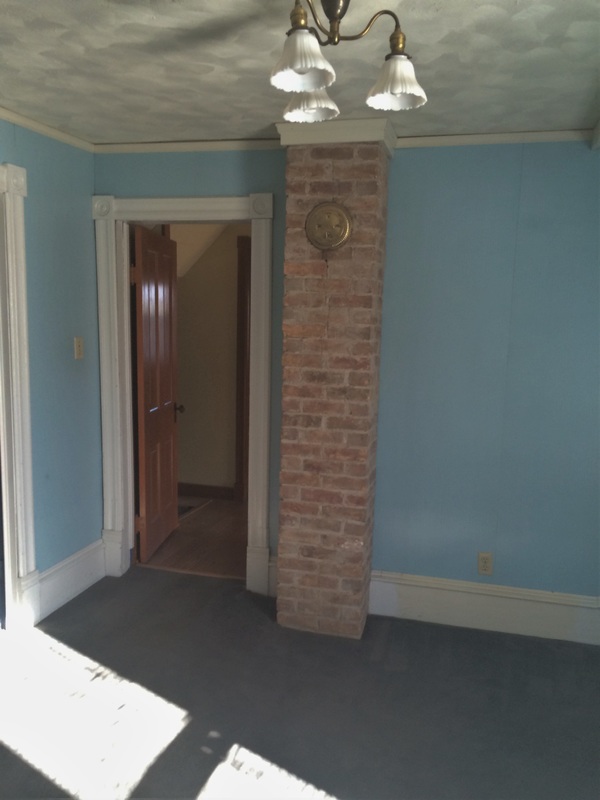
BEFORE
BEFORE
BEFORE
|
AFTER
AFTER
AFTER
|
|

|
Yep, even my cat (Cashmere LaVallee) get her room redone.
BEFORE
BEFORE
|

AFTER
AFTER
|
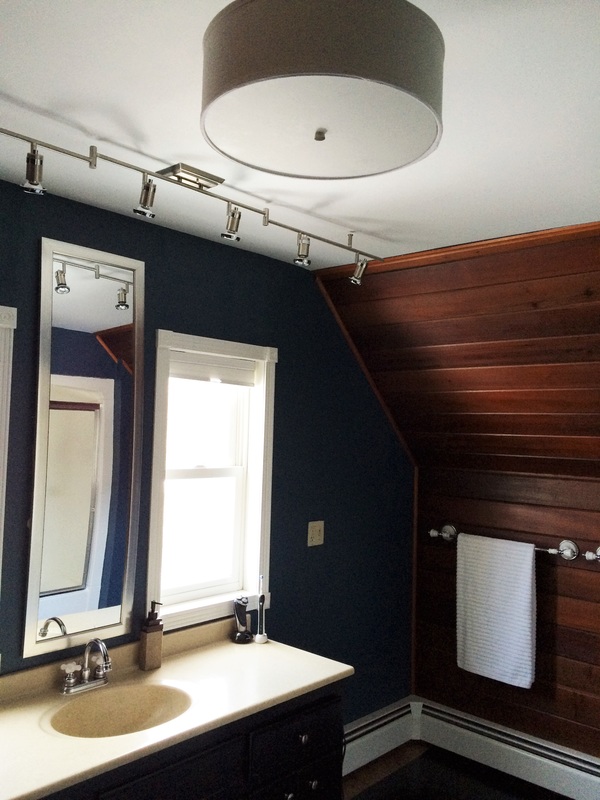
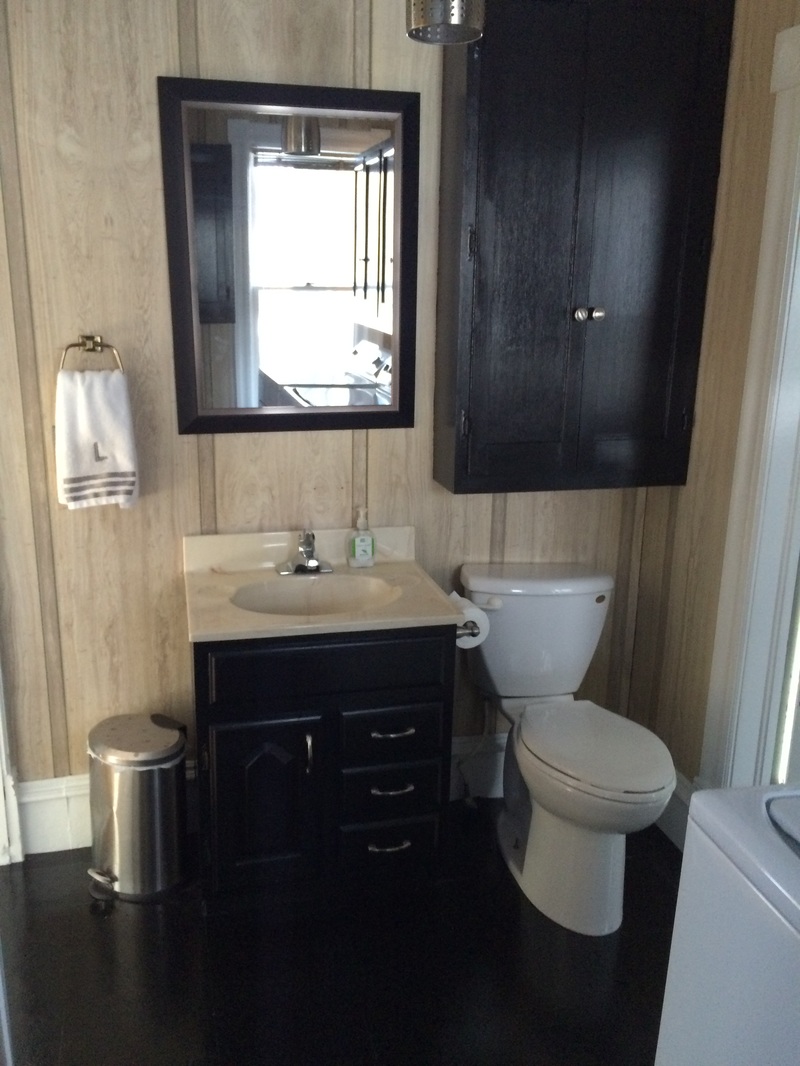
Main Bathroom
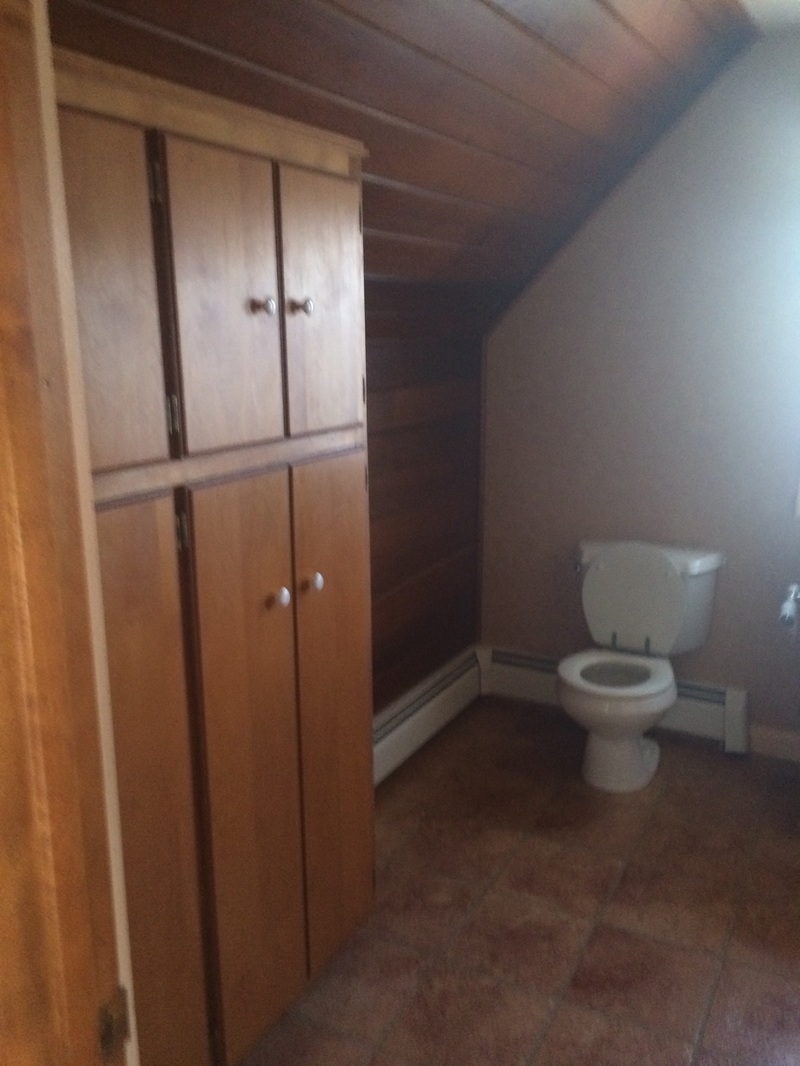
The only full bathroom in the house, I wanted to do something bold. As a fairly spacious room, I did fear that doing so much high gloss black it would make it very small. To ensure that it wouldn't be TOO much, I left the North and South wood paneling alone (stained as is). Having the contrast between the warm mahogany walls and the Ebony floor/cabinets is like crazy attractive! Here too I chose a vinyl tile and high gloss black accents. New lighting fixtures also help give a contemporary feel to this bathroom.

BEFORE
BEFORE
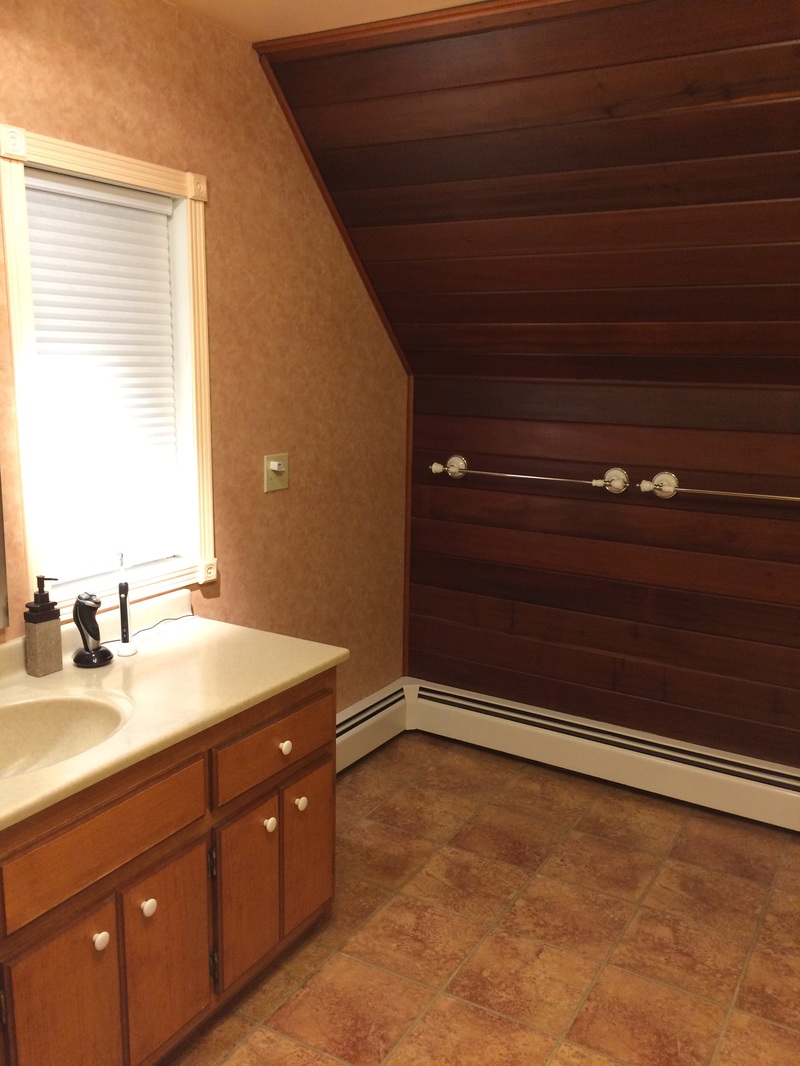
BEFORE
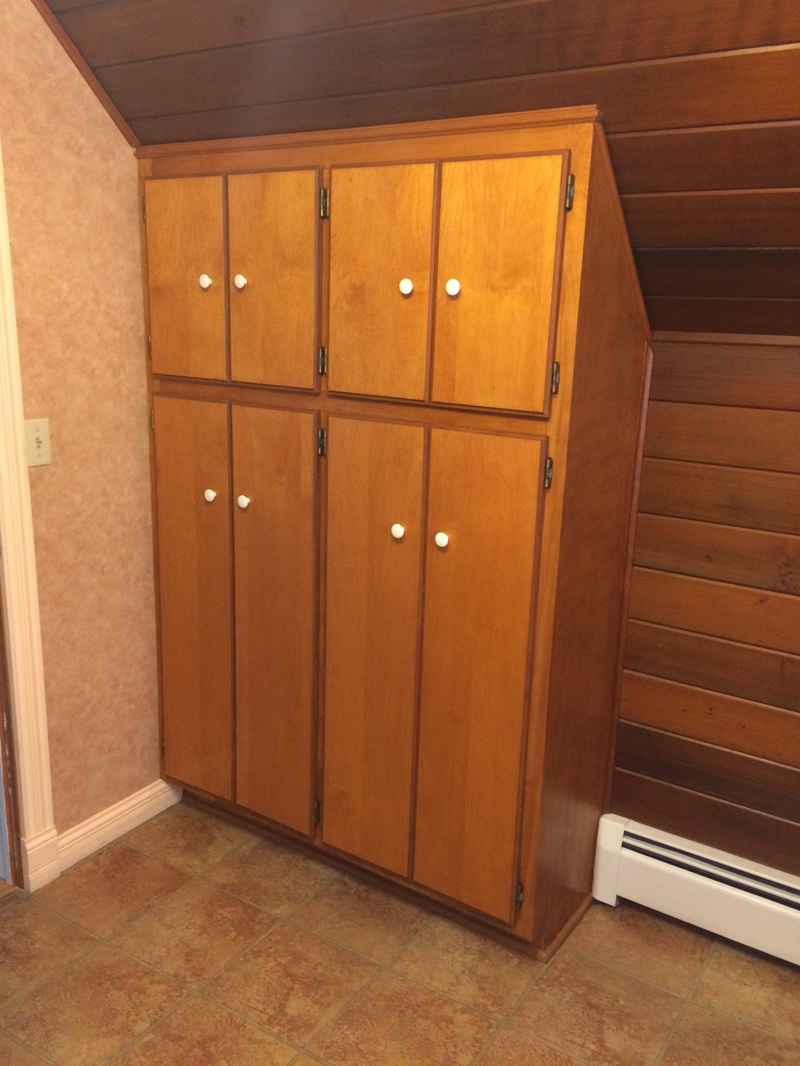
BEFORE
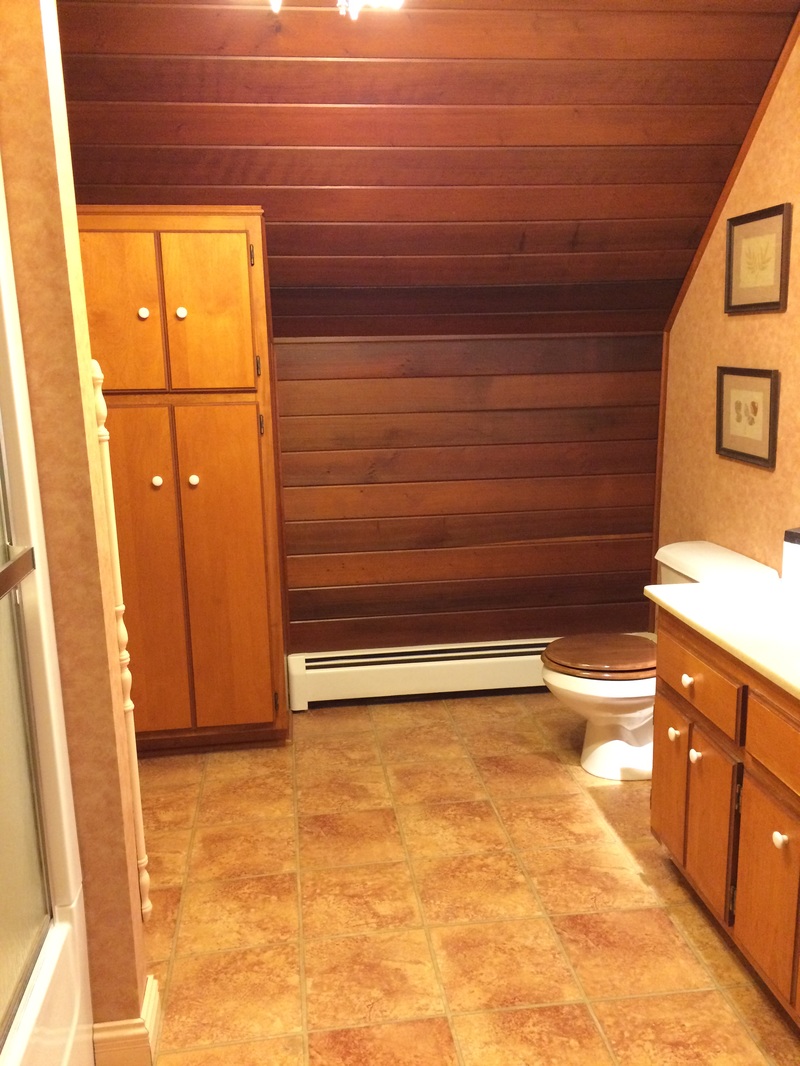
BEFORE
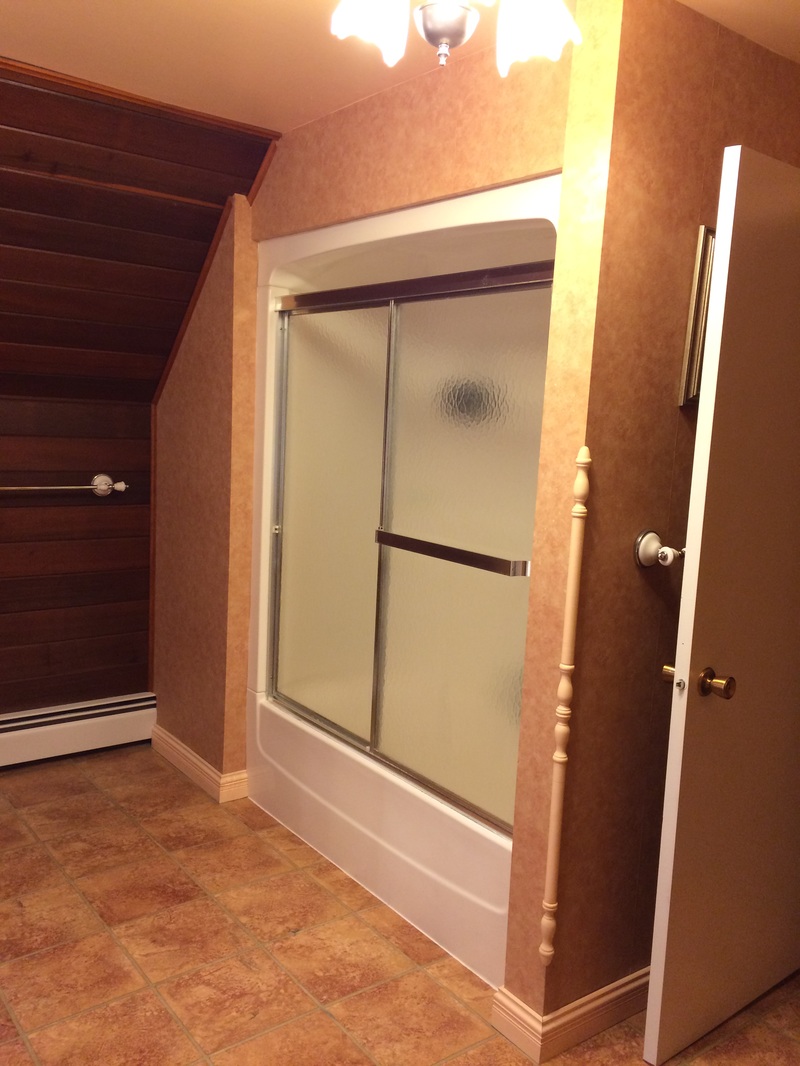
BEFORE
|
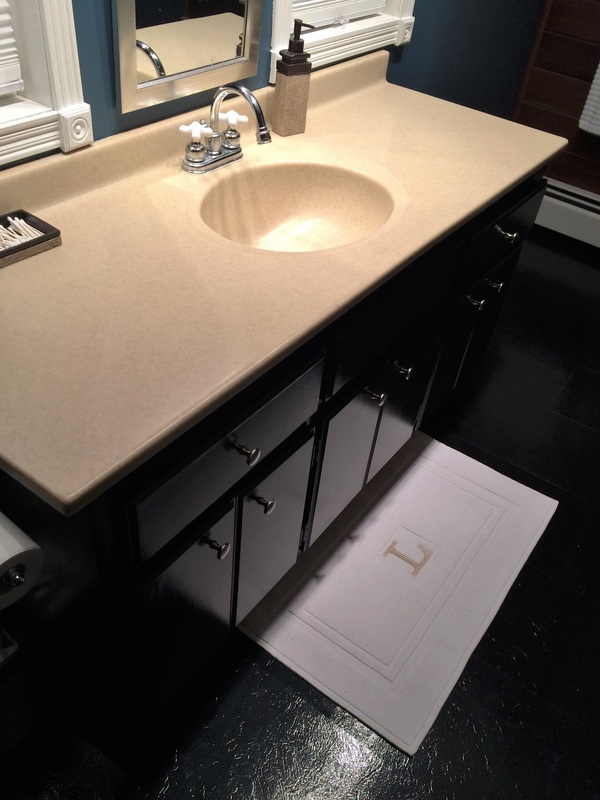
AFTER
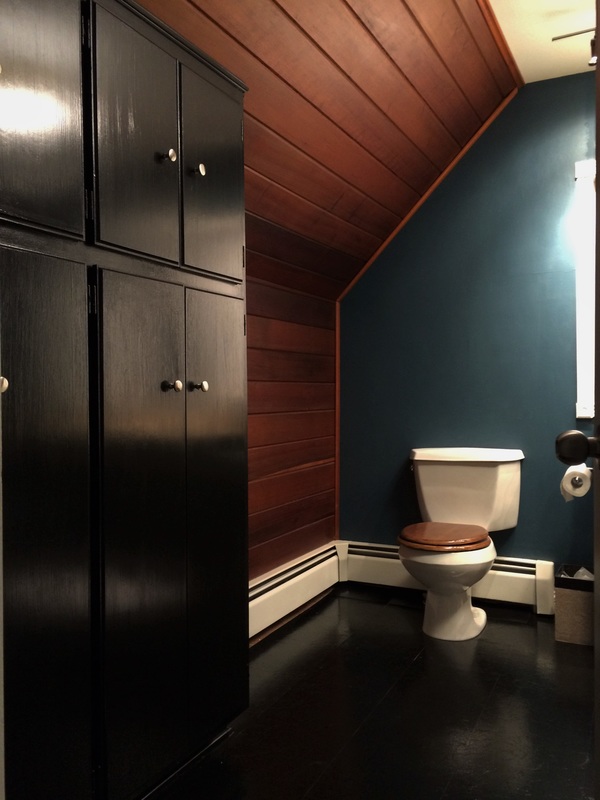
AFTER
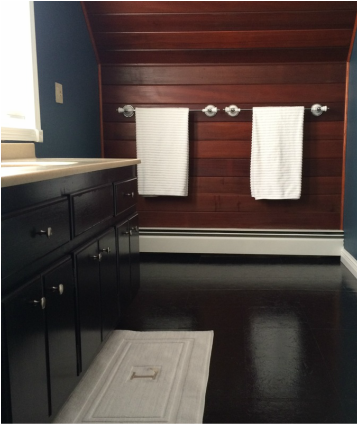
AFTER

AFTER
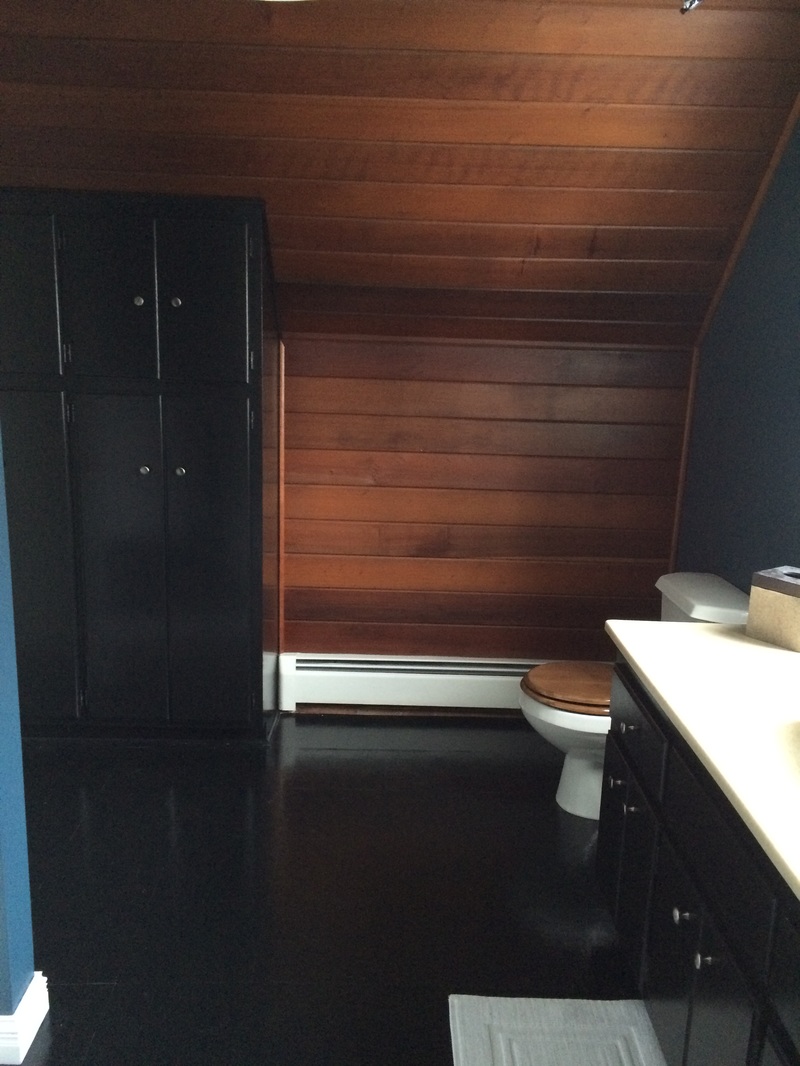
AFTER
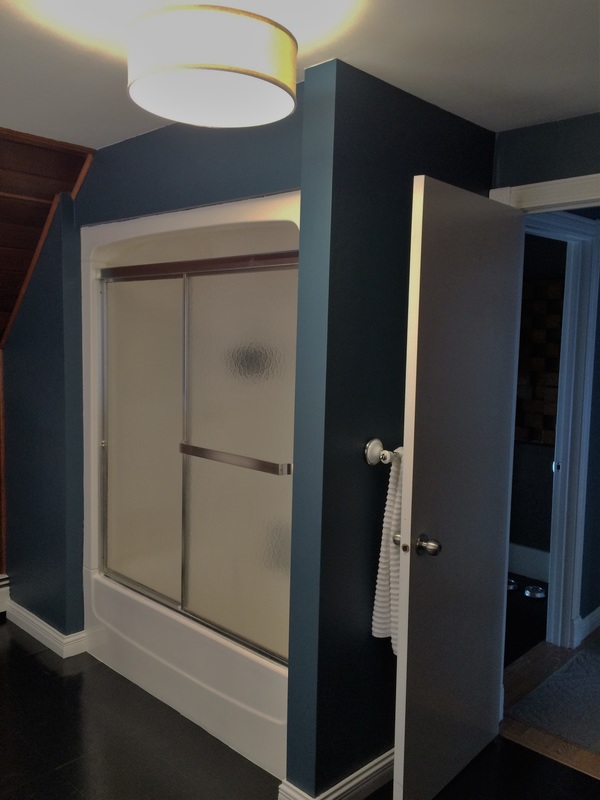
AFTER
|
AFTER
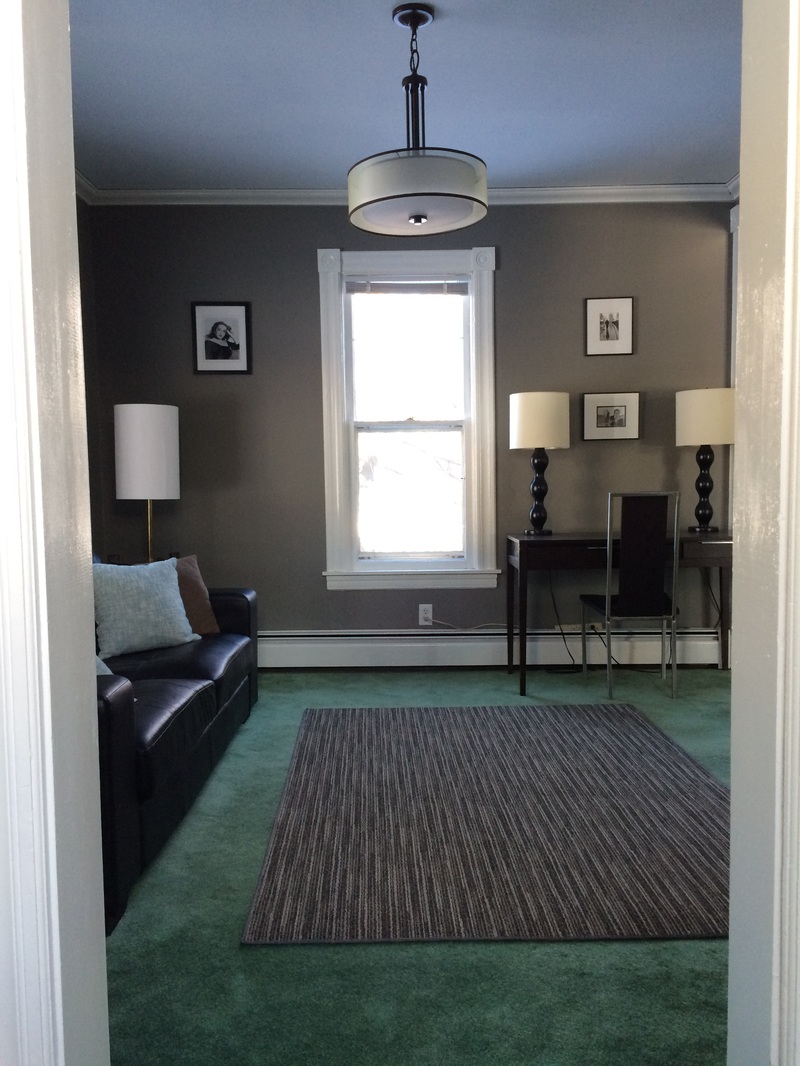
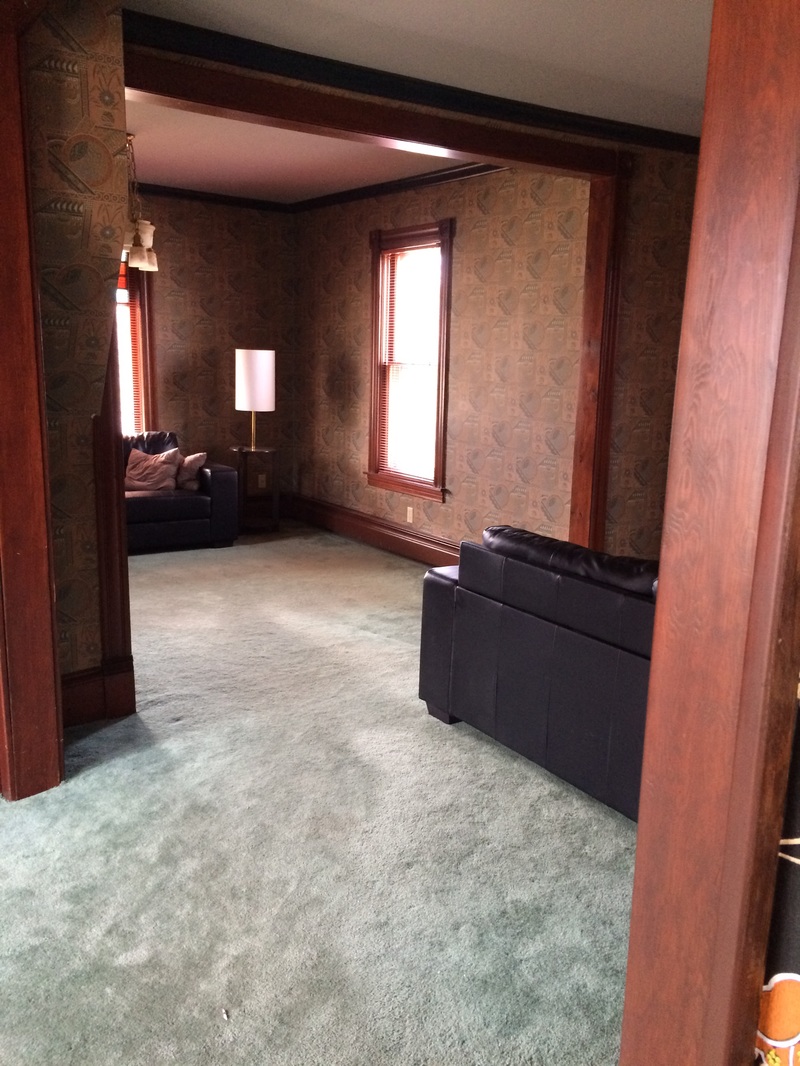
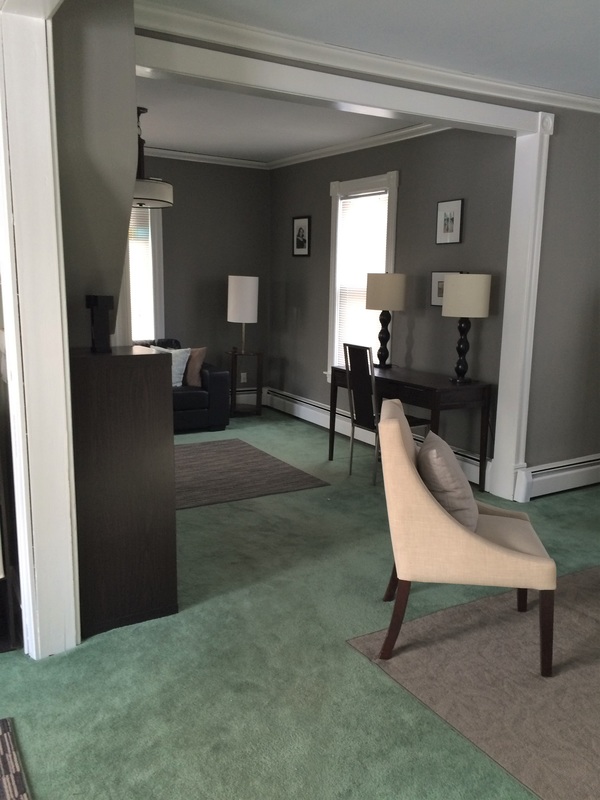
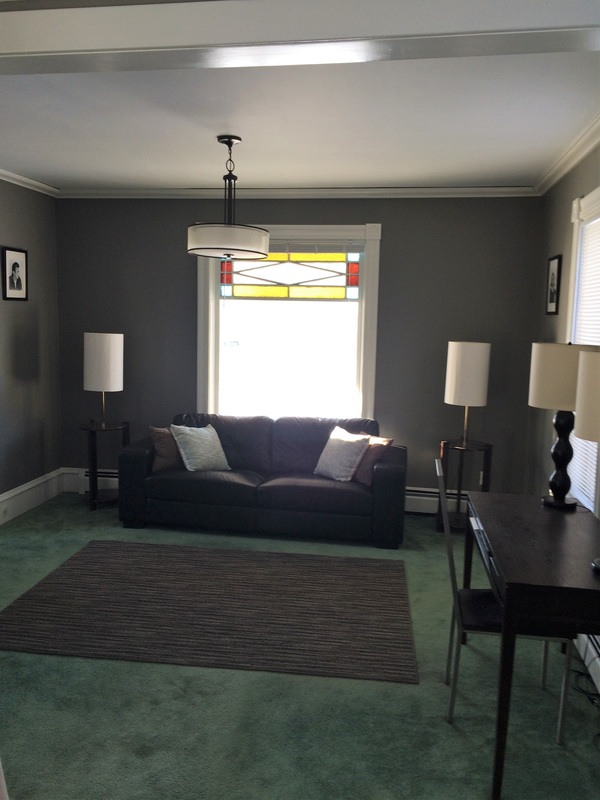
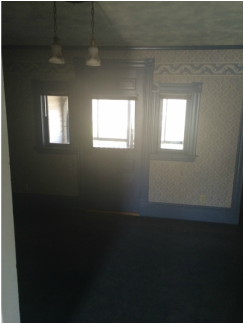
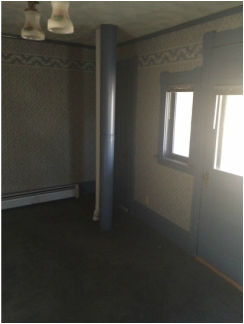
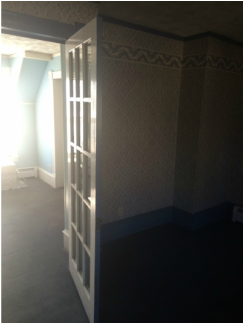
Livable Living Rooms
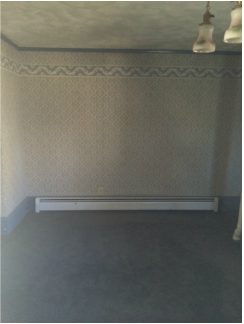
With having long weekend to work on my house, I was able to complete (99.3%) of the remaining living rooms! It’s amazing what just paint and a lot of hard work can accomplish. The color choices work really nice with the sea foam/teal carpet. Didn’t expect that, but I’m thrilled that it does. White trim and ceiling, plus changing out the orange blinds for white has REALLY helped to lighten up the spaces. Feels like different. With minimal furniture still, you'll have to use your imagination to see how it would appear if fully furnished. Next project will be the main staircase! This should be interesting. lol

BEFORE: Living room

AFTER: Living room
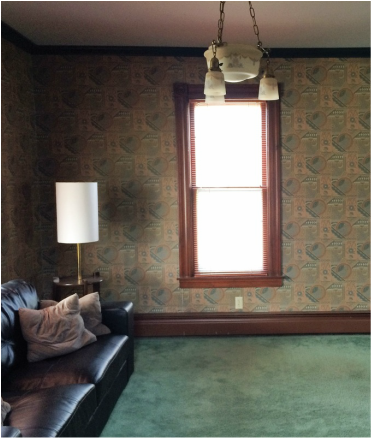
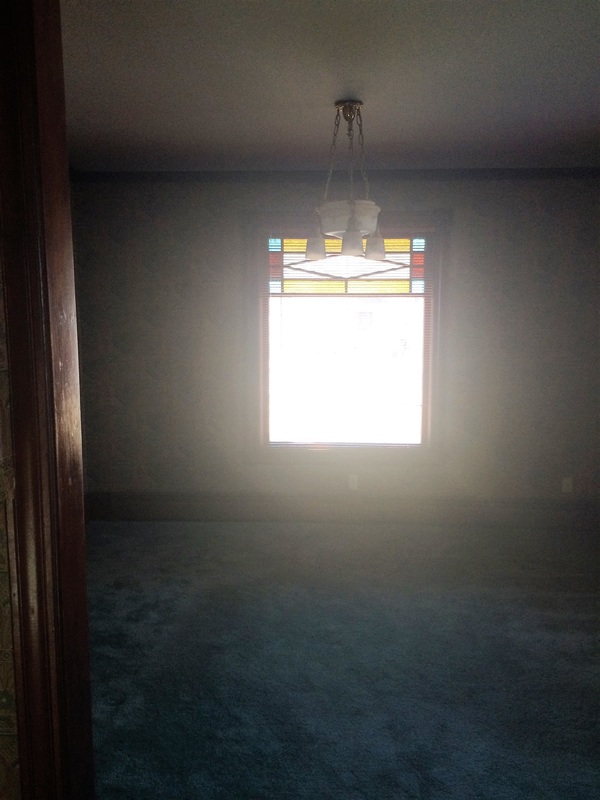
BEFORE
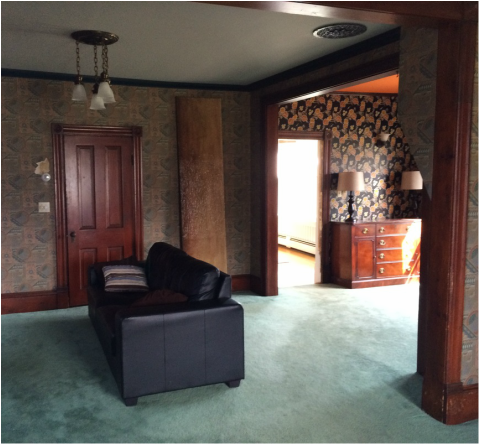
BEFORE
|
AFTER
AFTER
|
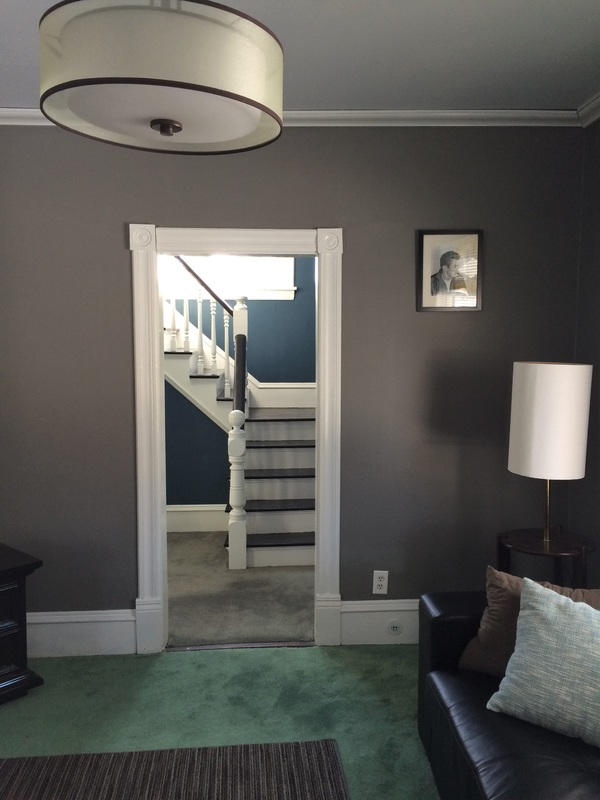
BEFORE
BEFORE
BEFORE
BEFORE
|
AFTER
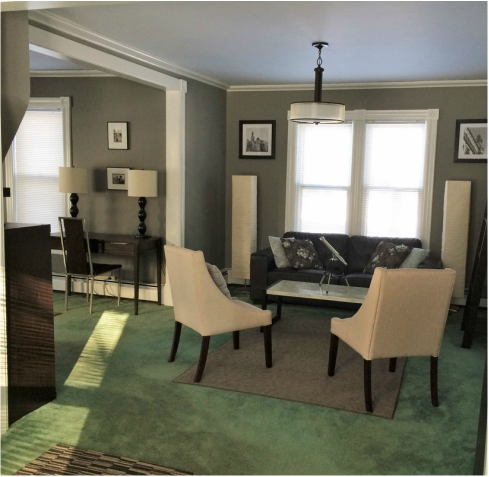
AFTER
AFTER
AFTER
|
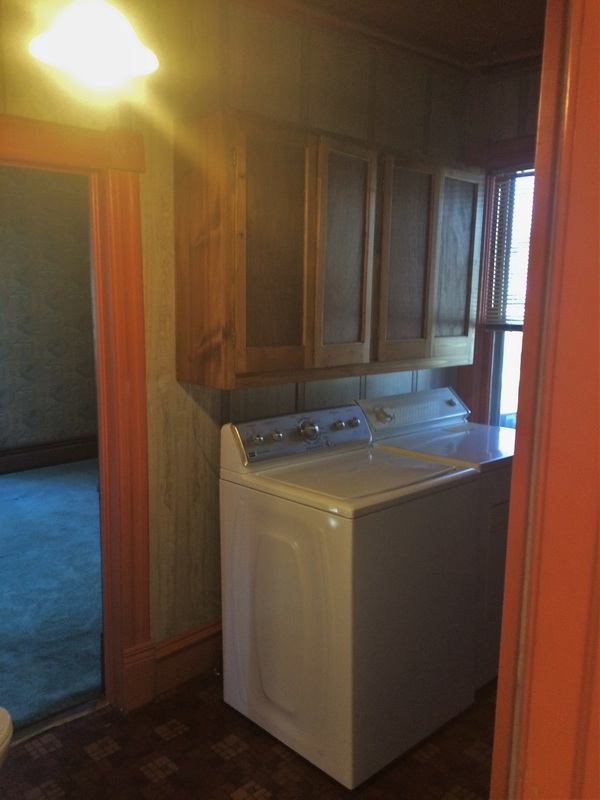
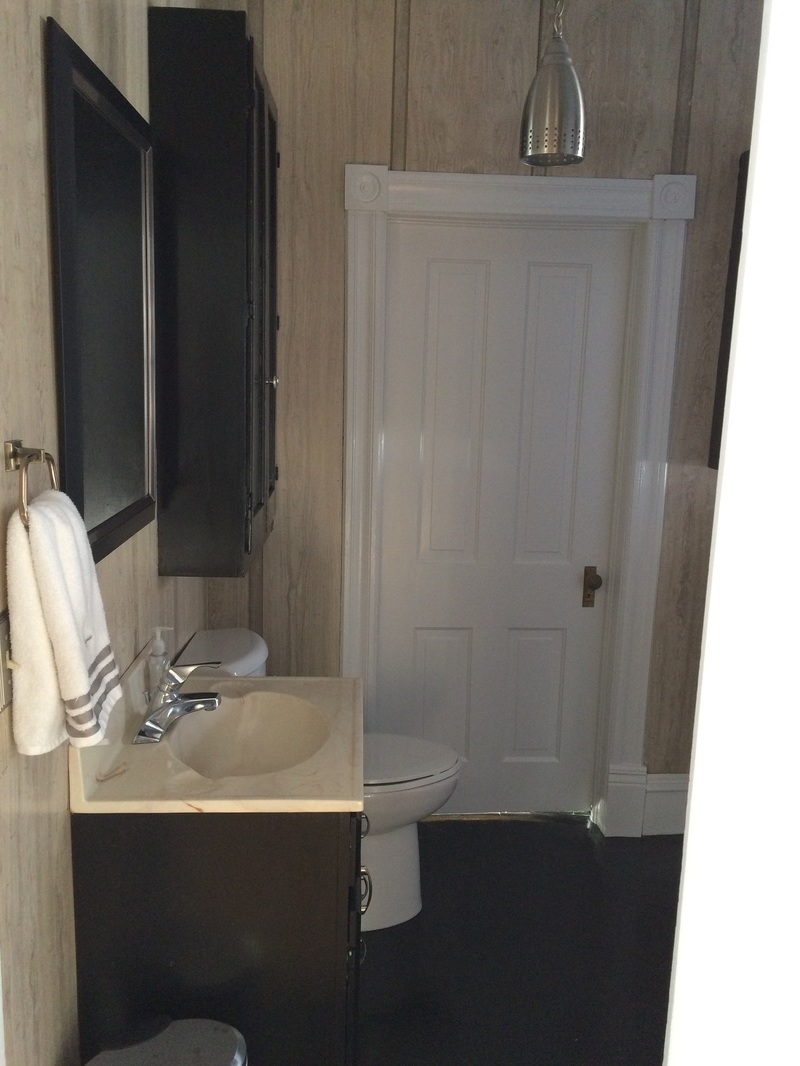
Main Floor Bath and Utility area
The only Bathroom on this level also hosts as the Laundry and Utility room. Originally, this would have been a full bath but, with prior renovations it now houses the water heater and boiler. What's that? there is some space left over here you say? Well, lets squeeze a washer and dryer in here too then! lol Cramped it may be but, it also a much appreciated addition to have second bath in the house. So, FUN FACT: This was the first area in the house where I played with using such a heavy amount of Ebony (high gloss black). Loved it so much that chose to repeat it in several other rooms through out the house, Took a chance on leaving the original paneling in this bathroom too. My hope was to save money and that it would be a light, creamy, off grey color that might hold me over until I could replace but, I kinda like it. hope you do too!

BEFORE
BEFORE

BEFORE
|
AFTER

AFTER
AFTER
|
Mystery Mixed Paint
With choosing the proper paint colors in the living
rooms, I’m very limited as to what will complement the teal/sea foam carpet
throughout all. Opting for a Khaki tone in the smallest room was a good start,
but I was at a loss as to what the other two living rooms were going to be. I
entertained the idea of a bold color like a Burgundy (That’s just crazy! too
bold, not gonna happen!), thought that maybe Khaki should be throughout (how
boring is that?!), or go for the obvious choice more Grey! (I’ve done it, I
love it, but I think we can do better.) So what to do??? The store bought color
choices are/were a great start, but nothing really caught my eye. So, I figured
I’d make my own custom, Tony brand color.lol I always end up with a little left
over paint from past projects around my house. Sometimes it’s just enough for a
touch up and other times it’s almost a full gallon. By mixing a dash of
(Timbermine), a touch of (Khaki Tone), a whisper of (Dried Plains), and adding
white primer to lighten, I created a color that is similar to a (Morel Grey) in
tone. It works well with the Khaki and is a perfect prelude for using
(Timbermine) again in the last living room! I really like how it’s looking so
far.
Left is the "Tony mixed color"
Center is "Khaki Tone"
Right is "Timbermine"
Left is "Tony mixed color" Right is "Khaki Tone".
Keeping up with Khaki
With this weekend’s project, I started on the
living rooms. While I'm still not 100% sure on the color scheme for all 3 living
rooms, I took a gamble on the first, smallest living room (See below). By
choosing a Khaki tone color (Khaki Tone by: Dutch Boy) I felt that it helped to
break up the fifty different shades of grey I currently have through the house.
You can’t go wrong with a neutral color like Khaki and…..I like it. I do, it’s
just that the teal carpet is throughout all living rooms I’m having an issue
with! For anyone reading this or if you ever think “I wonder what would be a
great carpet color choice that would NEVER go out of style.“ PLEASE don’t ever
choose TEAL!lol it’s a very hard color to work with. But, I digress.
BEFORE
BEFORE
|

AFTER
AFTER
|

BEFORE

AFTER
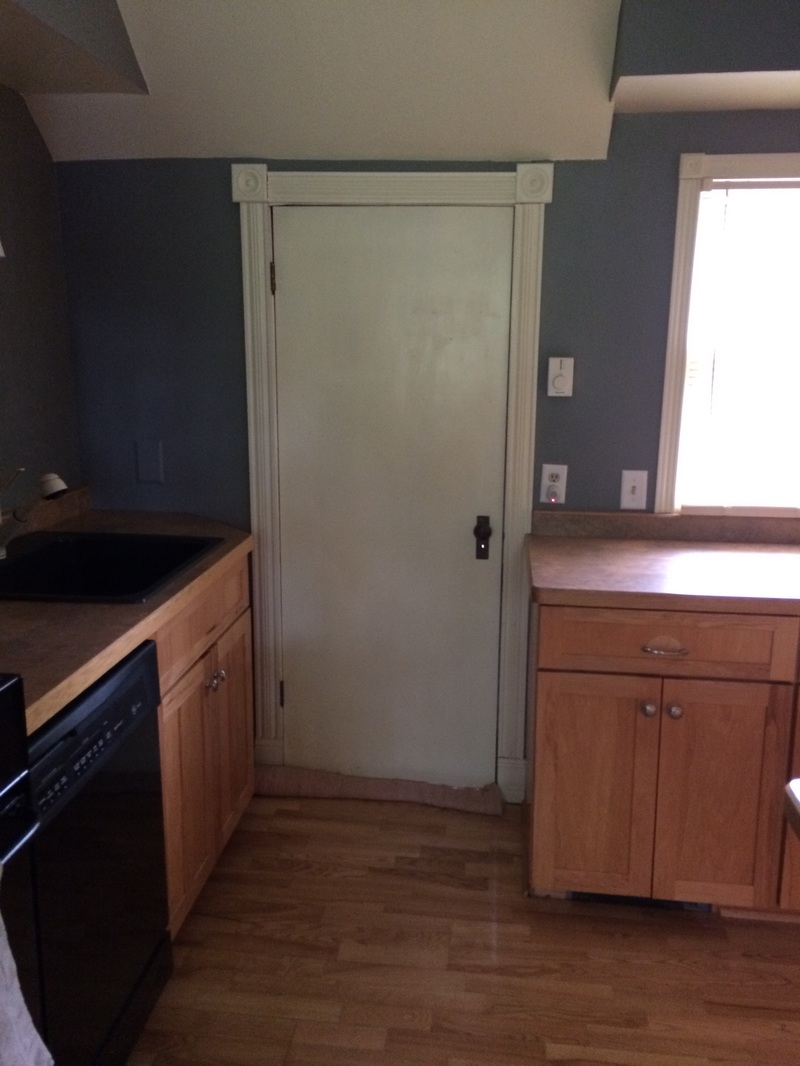
Cleaned up Kitchen
Although the cabinets
and (most) appliances are in really good shape, I still wanted to change up the
kitchen a bit. The cream on cream helped to give this area a large feel but,
little character. After changing out the cabinets knobs and drawer pulls to brushed
nickel, installing new overhead lights, adding a simple pendant light, and of course
a color to the walls, It now feels like a brand new kitchen that flows very
nicely with the rest of the house. FUN FACT: the wall color choice (Dried
Plains by Dutch Boy) is supposed to be a green-ish color but, in certain light
it has a grey or even blue look to it.
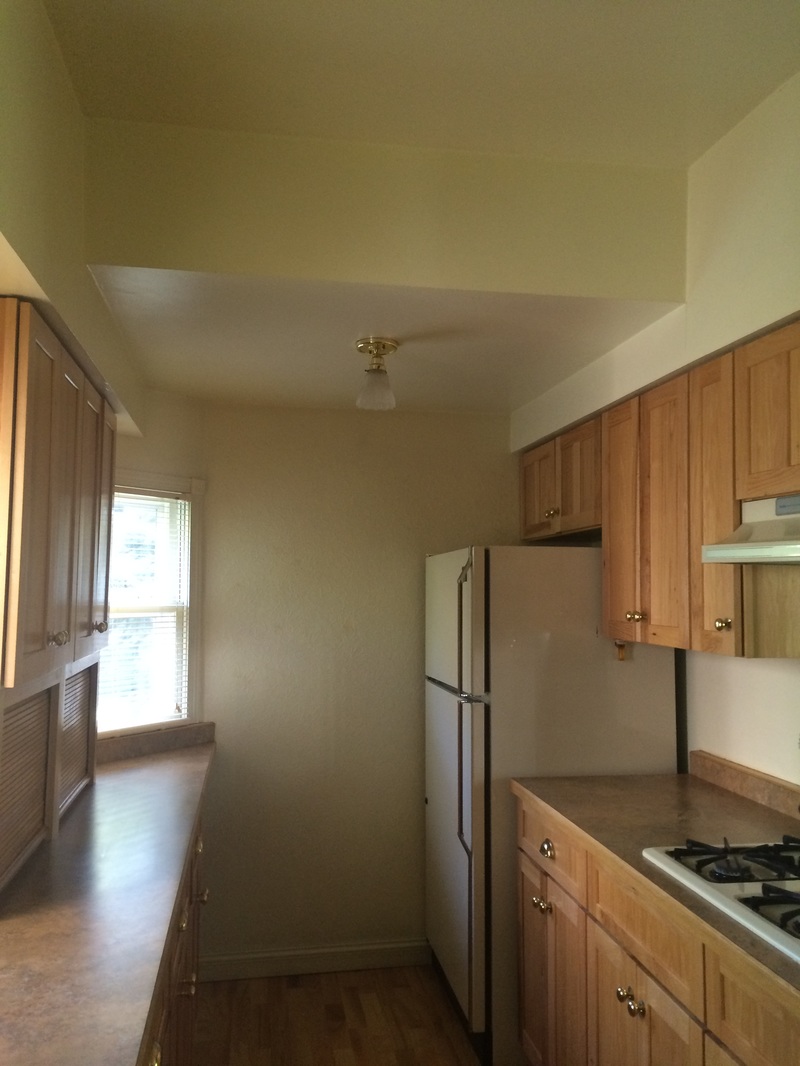
BEFORE
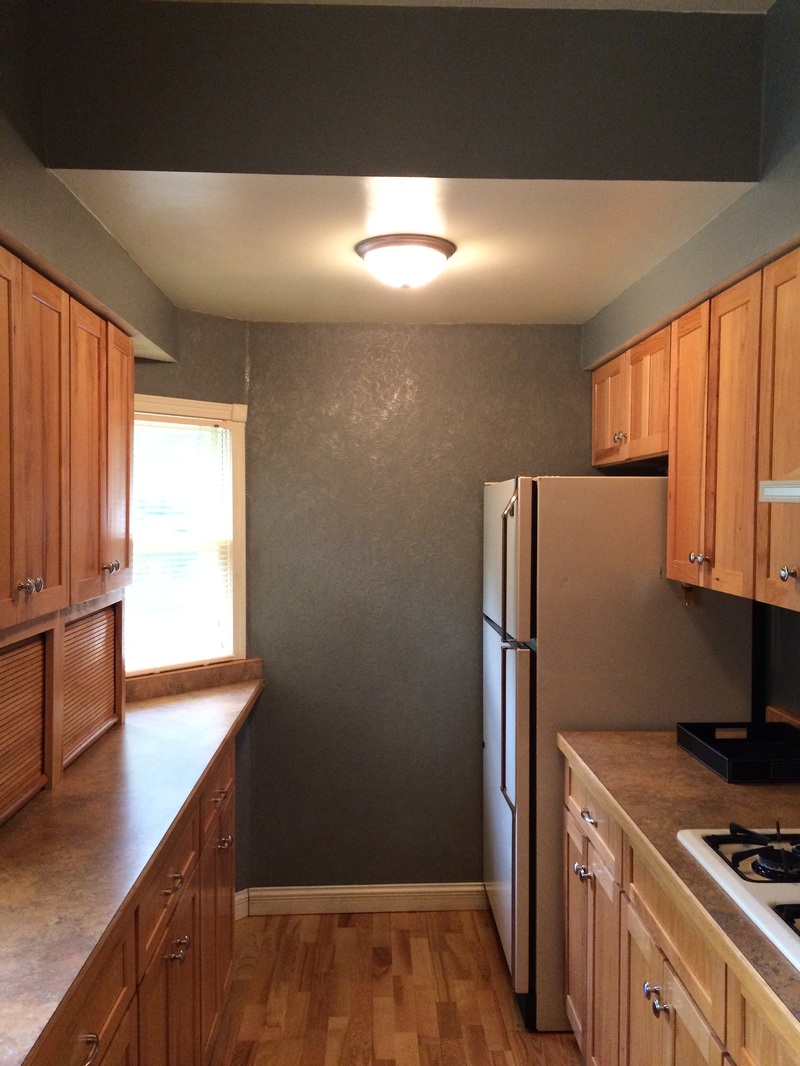
AFTER
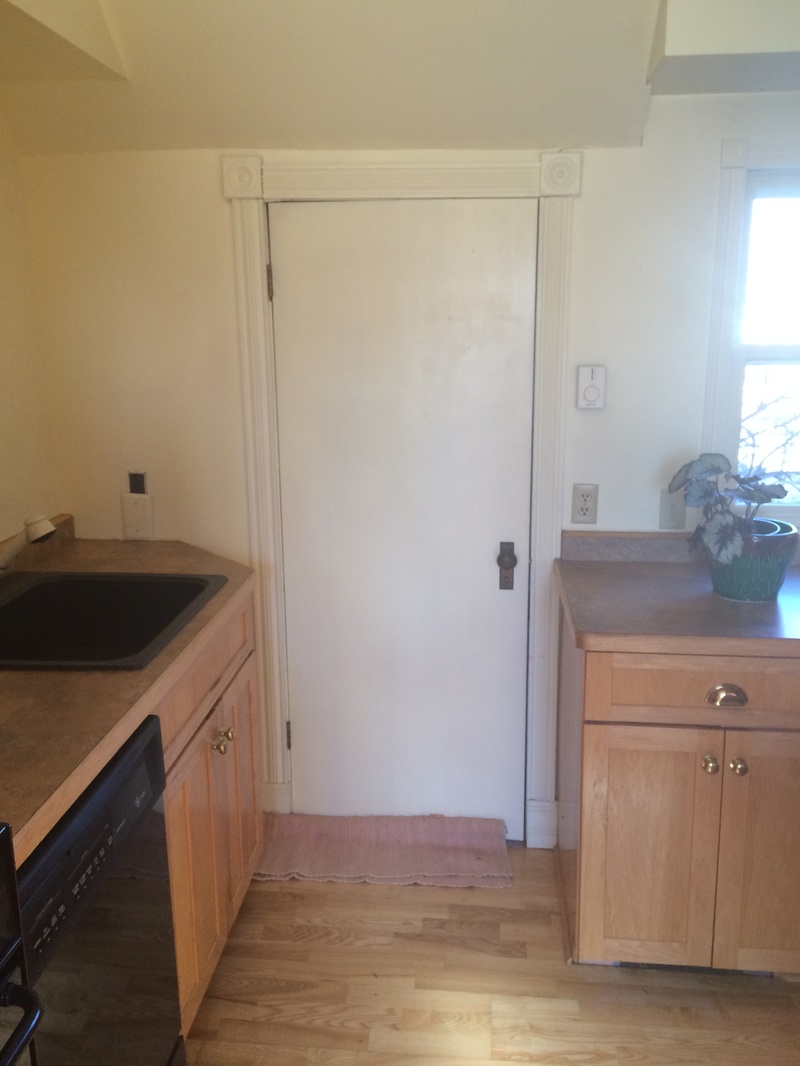
BEFORE
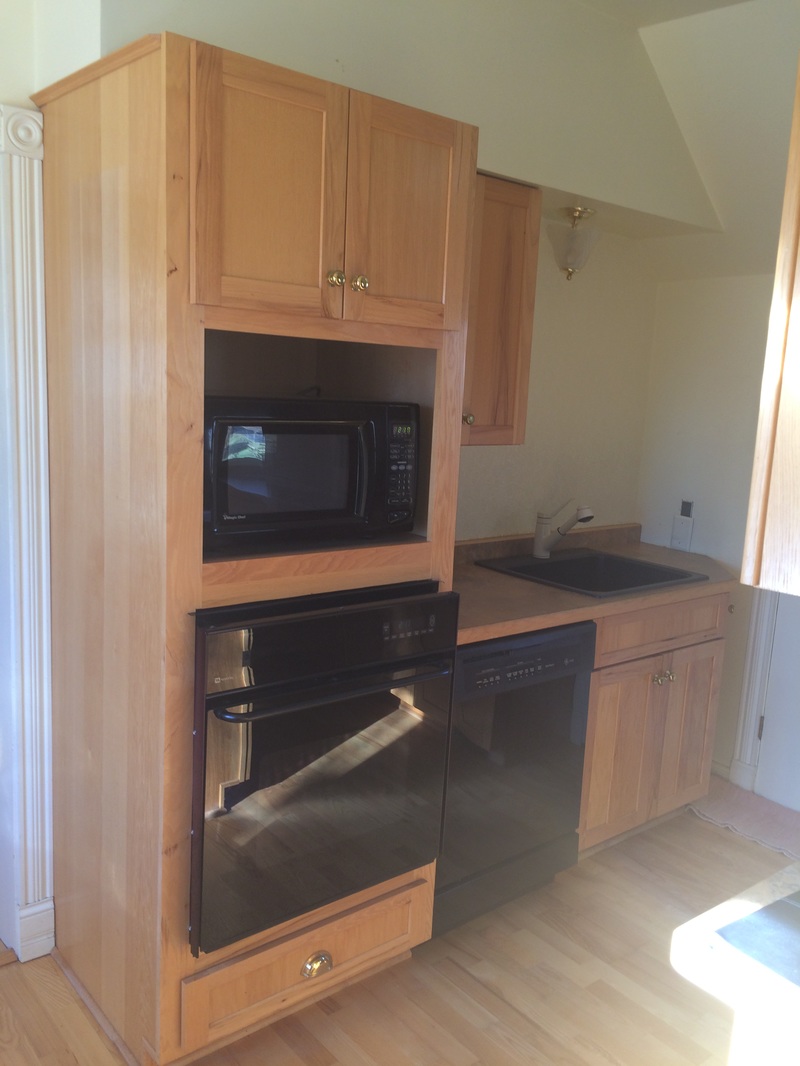
BEFORE
|
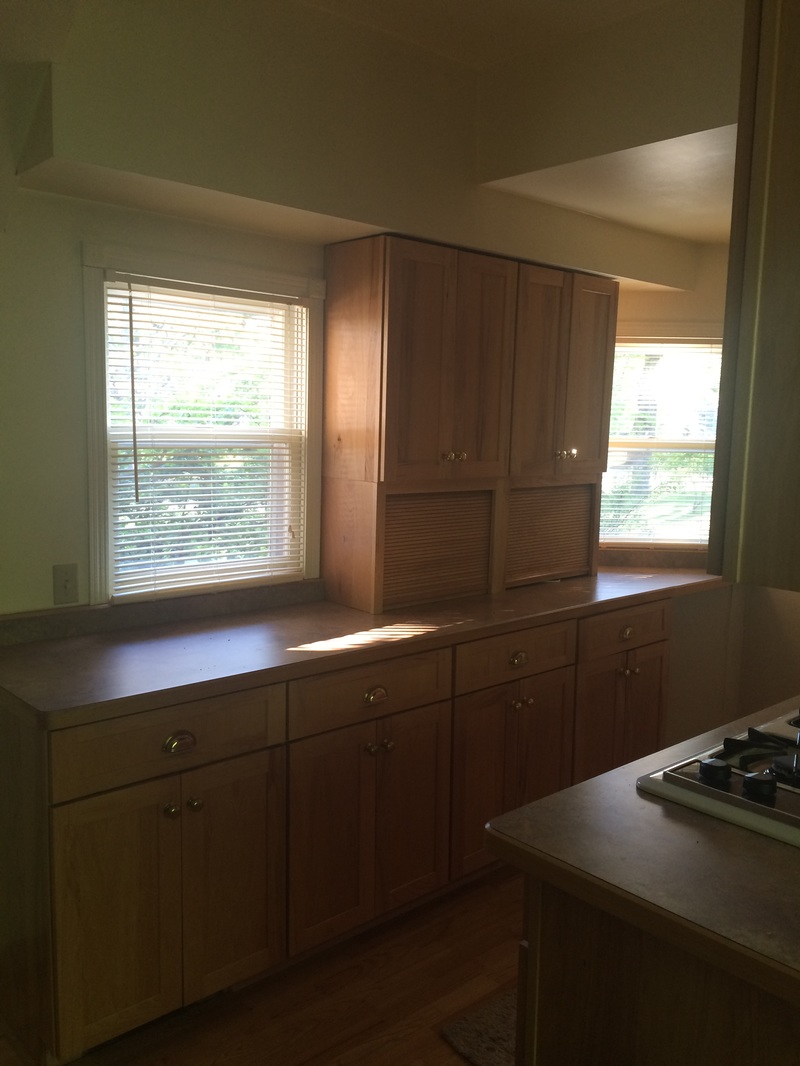
BEFORE
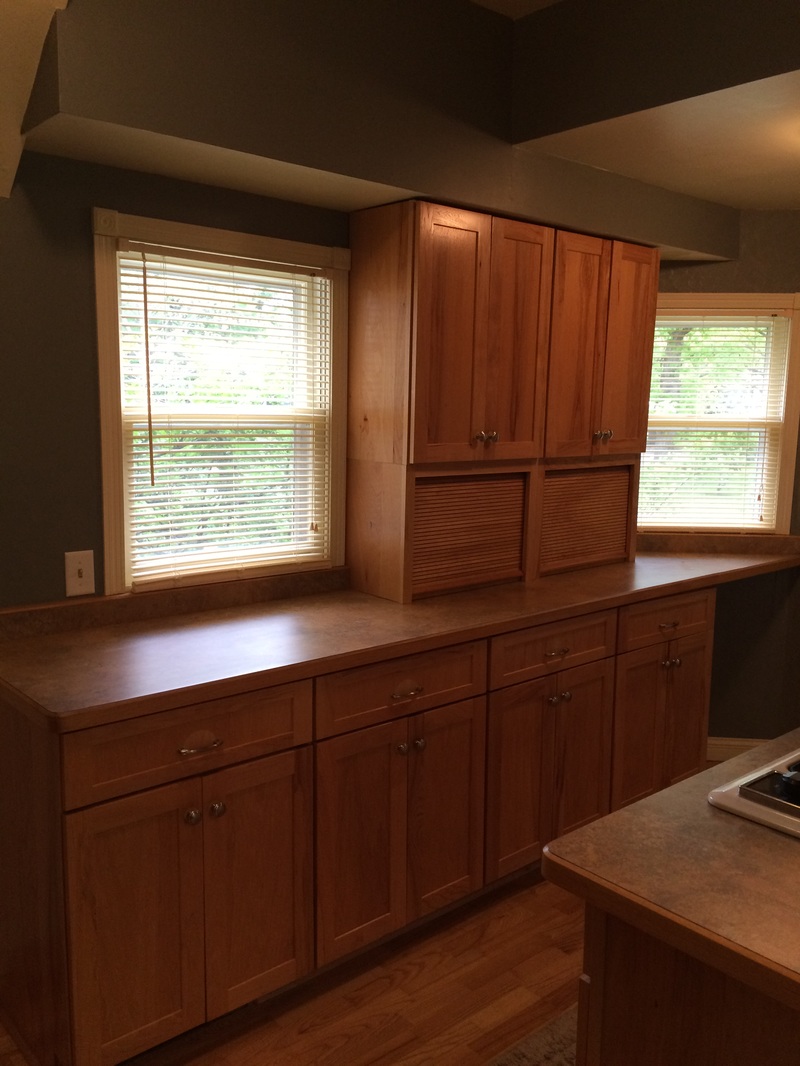
AFTER
AFTER
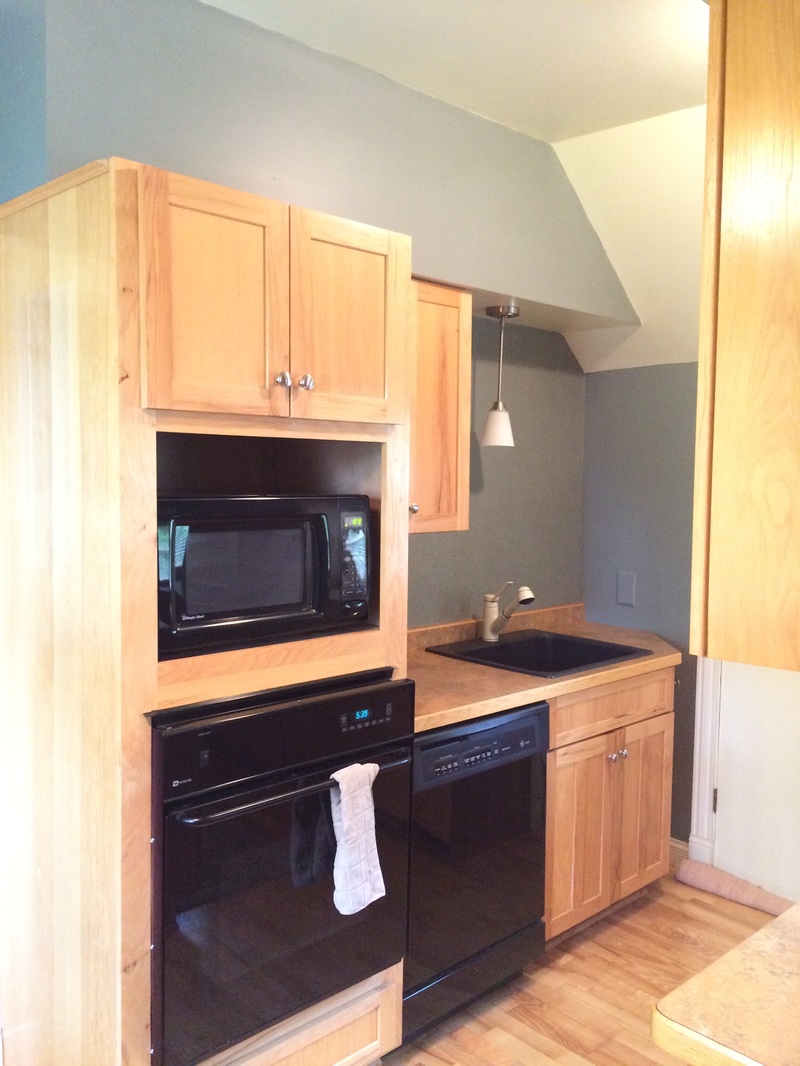
AFTER
|
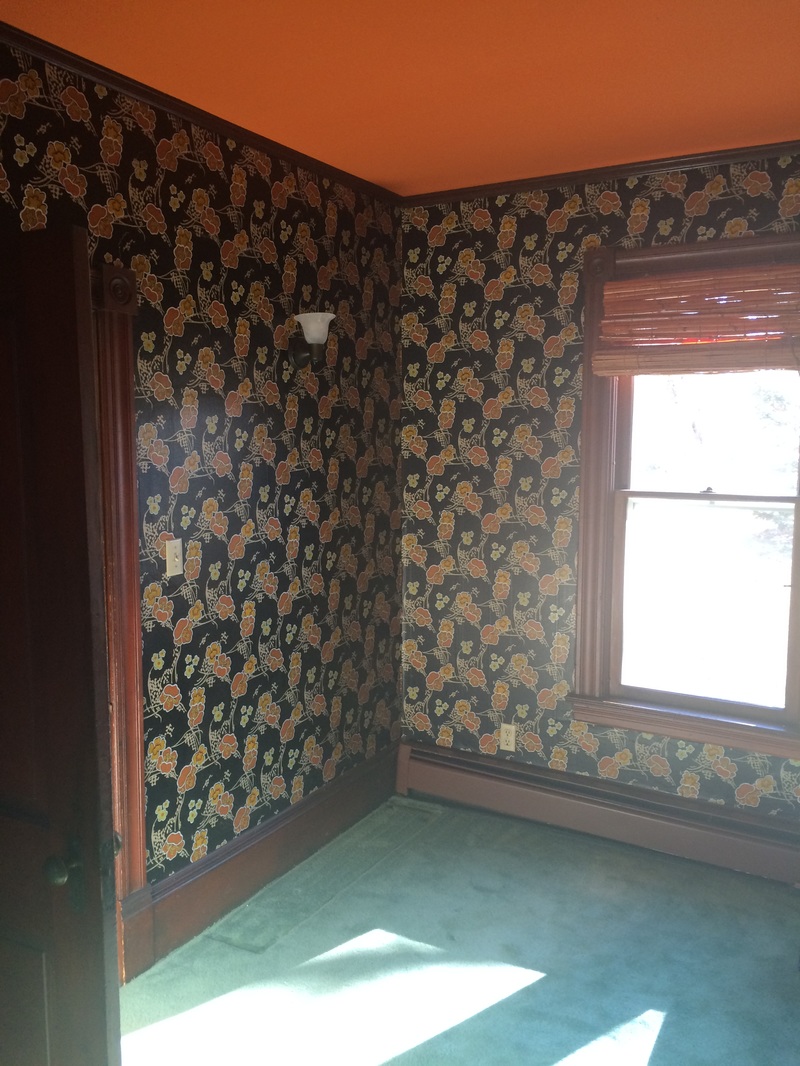
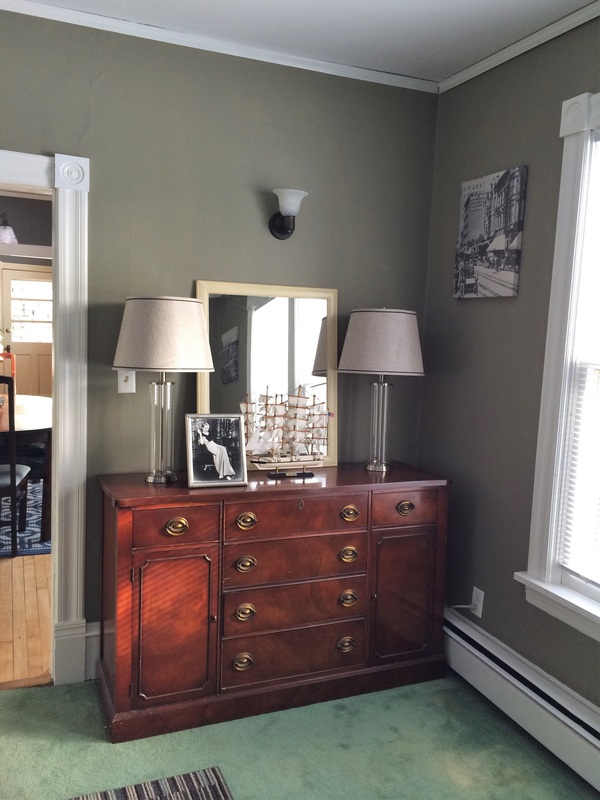
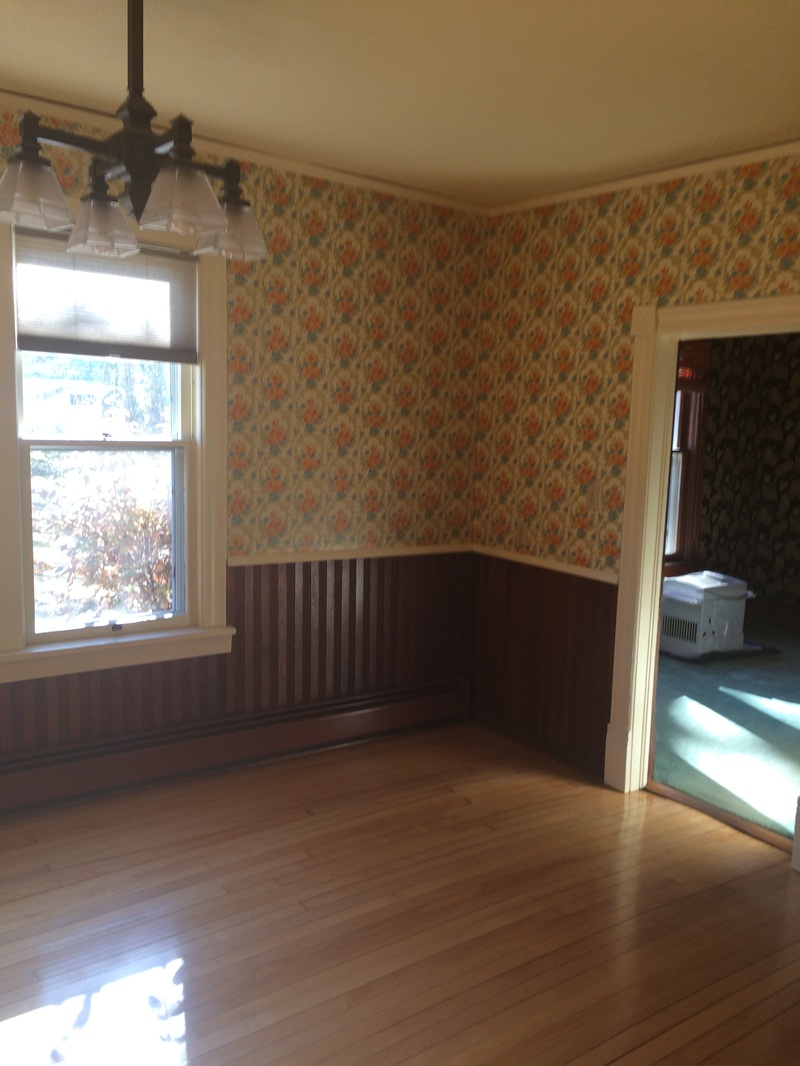
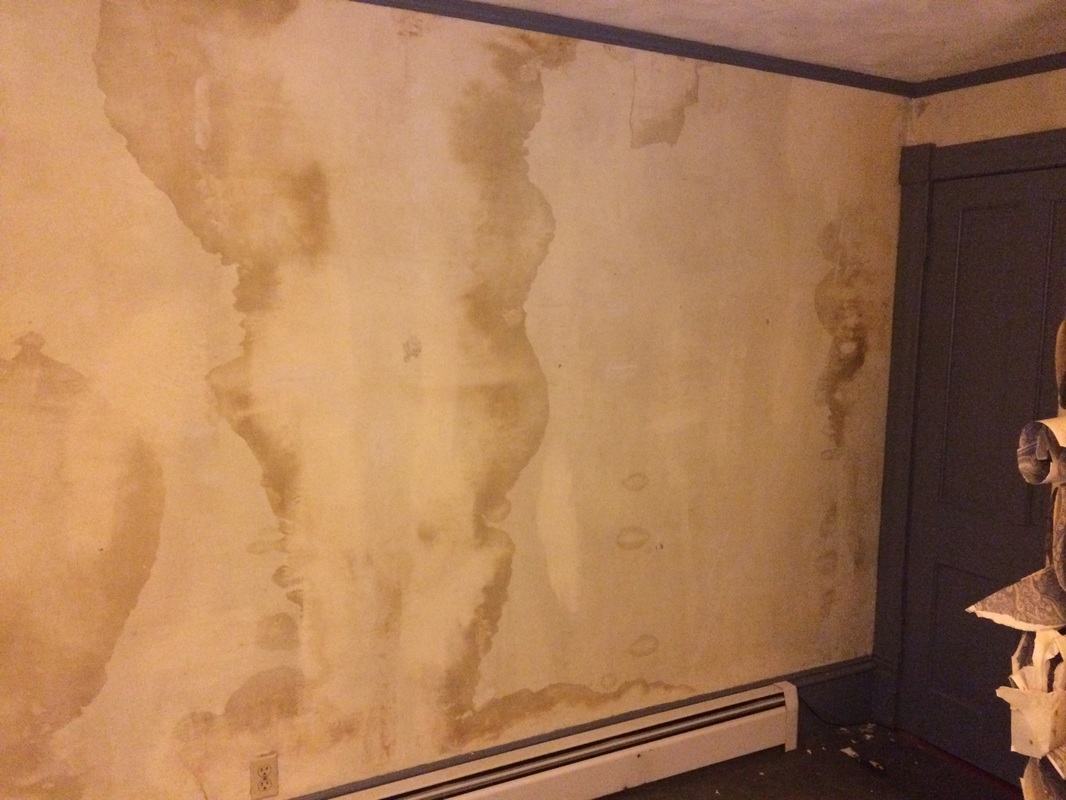
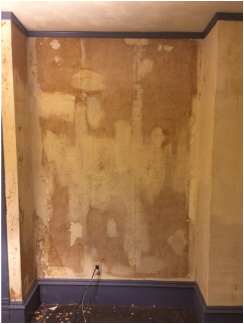
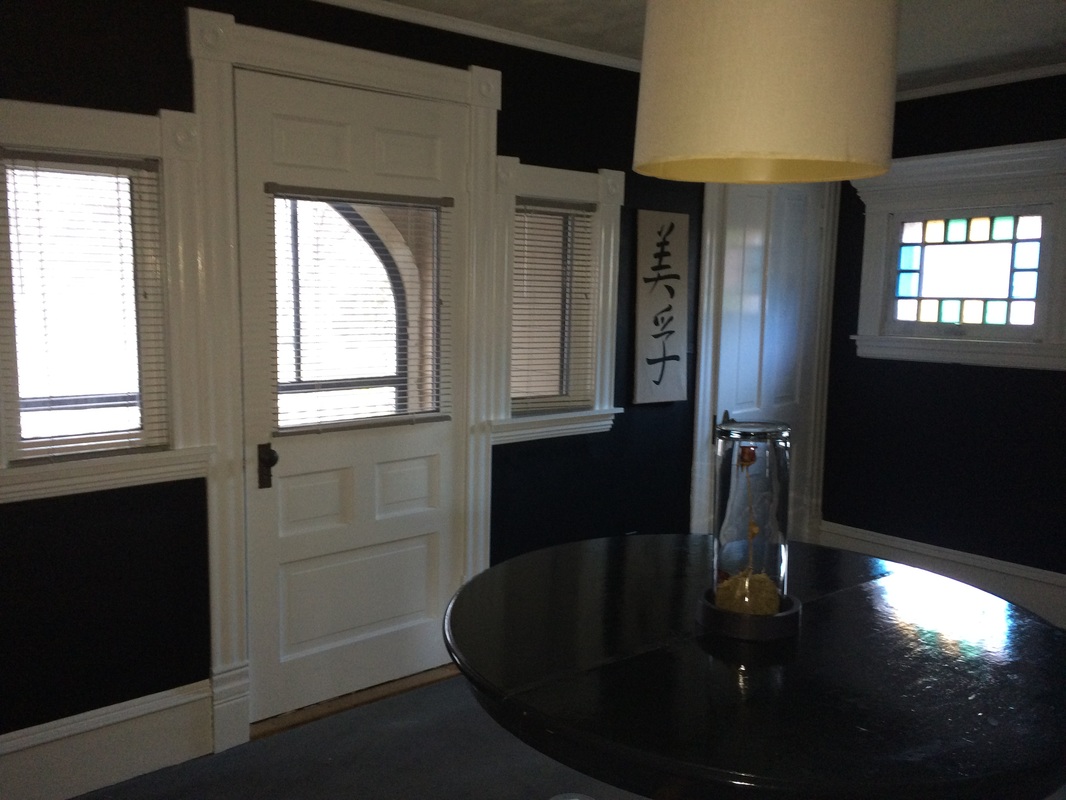
Grey-cious Dinning Room
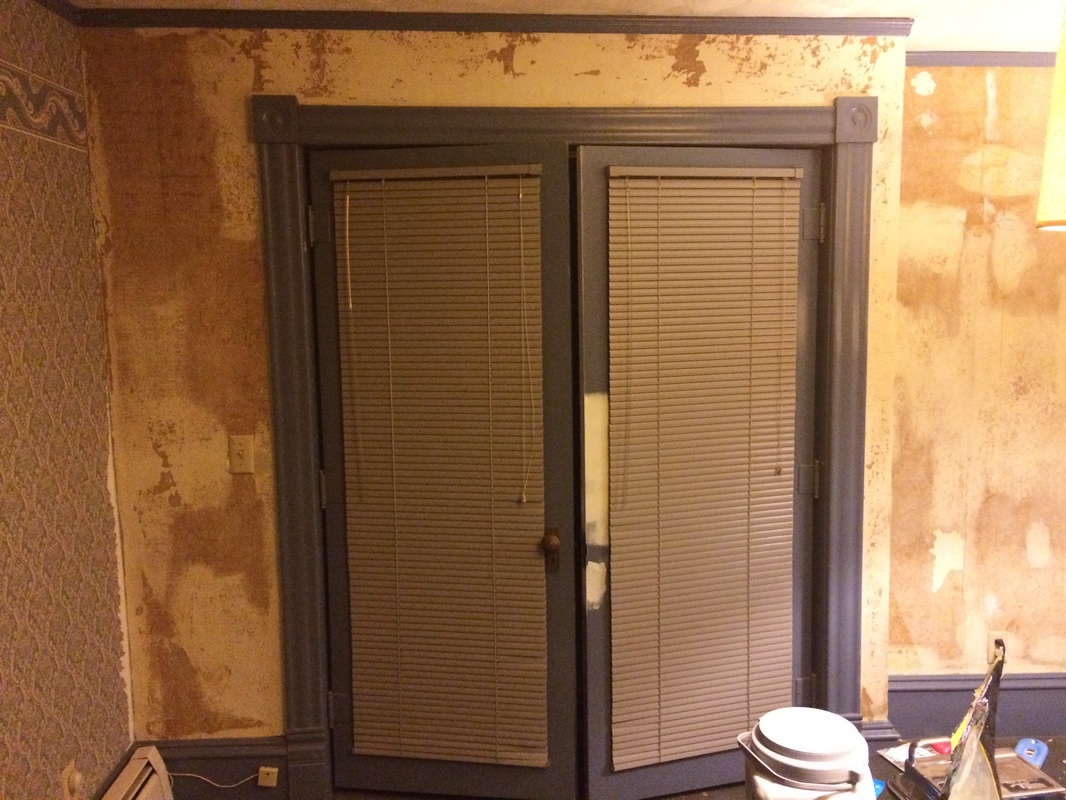
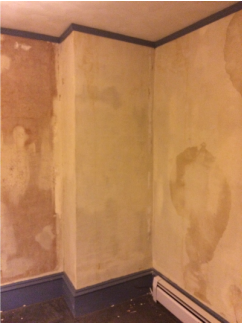
One of the first rooms I remodeled, the Dinning room had (in my opinion) the WORST wallpaper in the house. So, naturally it needed to go. Thankfully it all came off easy and I was able to turn.....whatever the hell this WAS into something much more inviting.

BEFORE
|

BEFORE
|

AFTER
BEFORE
|

BEFORE
|

AFTER
|

AFTER
|

BEFORE
AFTER
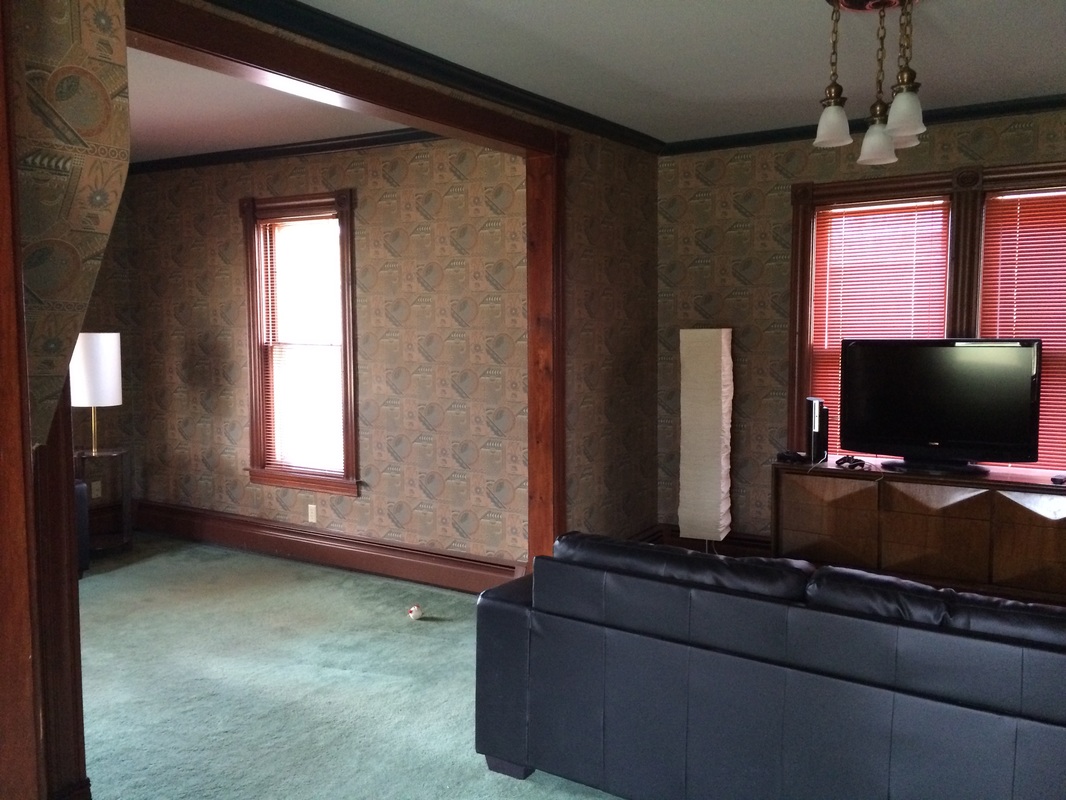
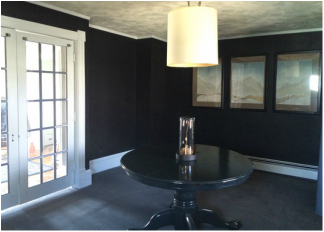
The Lounge
Having a house with many different rooms, I'm
always trying to think outside the box when it comes to how to actually use
them. I have absolutely NO need for more bedrooms so, when I was
thinking of what I could do with this room (which "technically" is a bedroom) I
really wanted to do something fun and unexpected. Also, When people come
to see my house the balcony is always a highlight of the tour and this room is the
ONLY way of accessing it. SO, what to do....what to do. I loves me some grey
but, I've done that already and need to find a color that complements other
rooms nicely but, at the same time, can stand out on its own. I got it! You ready
for this???
BEFORE
BEFORE
BEFORE
DURING
DURING
AFTER
|
BEFORE
BEFORE
BEFORE
DURING
DURING

AFTER
|
AFTER

AFTER
|

AFTER
AFTER
|
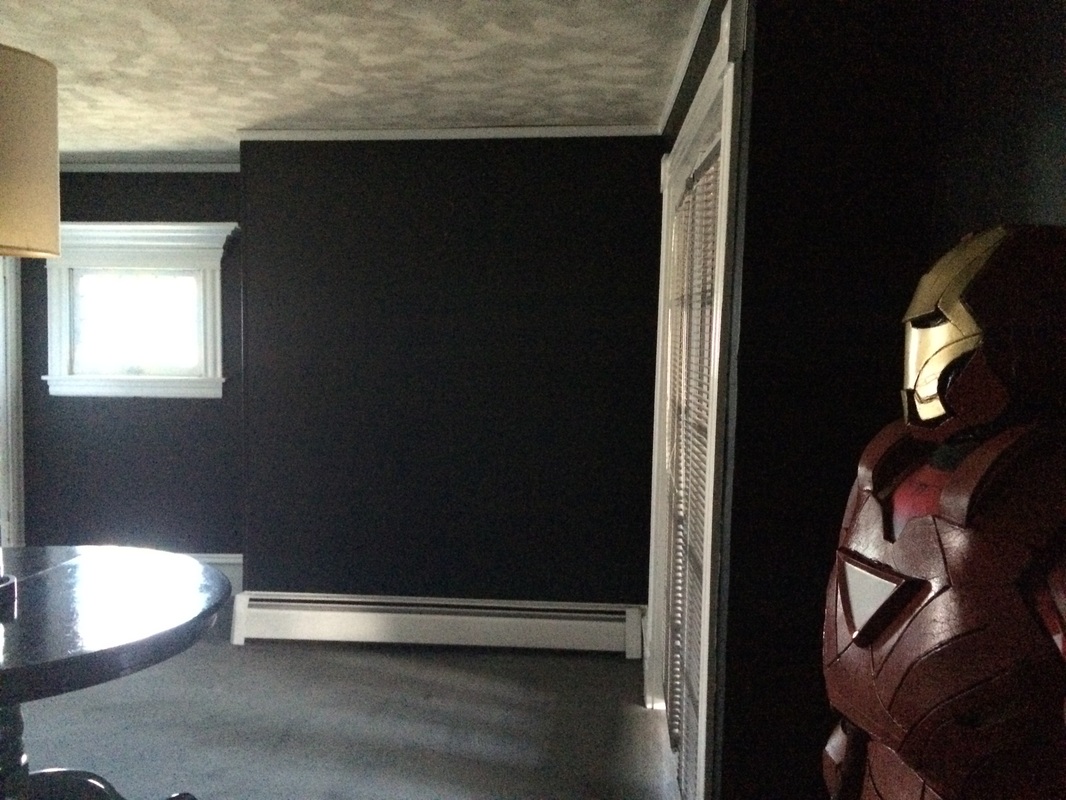
I know!!! This was a VERY
bold choice but, I really love it. By going with Black by: Dutch Boy (not a
very "fancy" color name) and White trim (Lined with Silver by: D.B.)
this could have turned out to be a cold and uninviting room however, this is
not the case. With all that busy wallpaper taken down the
room feels rather large, even with Black walls! didn't expect that but, it does
and I think that the white trim contributes a lot to that open
feel. Always trying to save money, I used a large old drum shade and attached
it to the existing light fixture with just some wire. This give a retro/modern
touch to the room for no money. Now, I have an appealing place to “Lounge” AND
most importantly a prime room to show off the Ironman suit I made, lol.
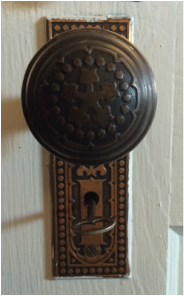
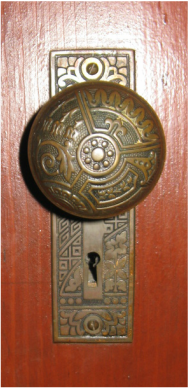
Door Knobs of 5th Ave.
With an old house, I was hoping to find hidden treasure in the floors or walls but, so far this is not the case.lol I DO happen to have a great deal of original door knobs throughout. A few have been replaced here and there but, 90% are original (see details below) and those random others I've learned to love just as much. Below you'll see the before and after pics of each style that I've found...so far in my house. With a little elbow grease and varying grits of sandpaper, I've managed to give new life to these knobs.
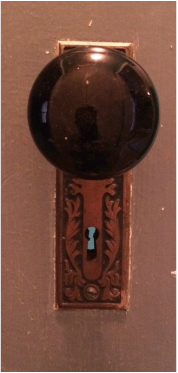
BEFORE: Balcony door knob. Very dirty, hard to make out the detail.
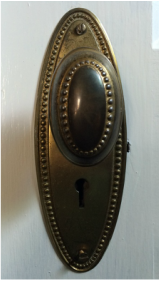
BEFORE: Lounge closet door knob. The only oval shaped knobs in the house.
BEFORE: Sitting room door knob. not very impressive.
BEFORE: These sold brass knobs were VERY dirty and had very apparent wear patterns on all.

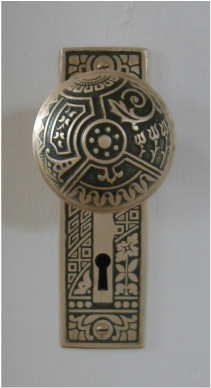
BEFORE: With 114 years of dirt and oil on these, it's not very easy to see all of the amazing design work.
|
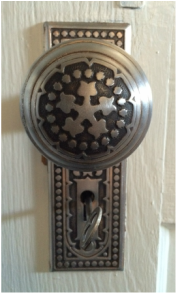
AFTER: Clean and visually appealing, Detail stands out much better.
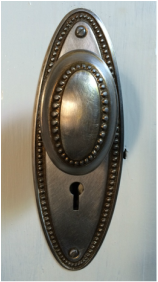
AFTER: Clean fresh look. That now gives a feel of brushed nickel.
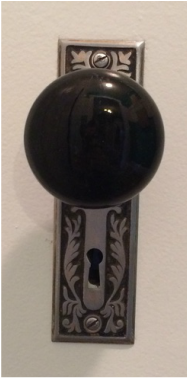
AFTER: Sitting room door knob. Much better looking.
AFTER: Once "cleaned", these knobs look like they are brand new.
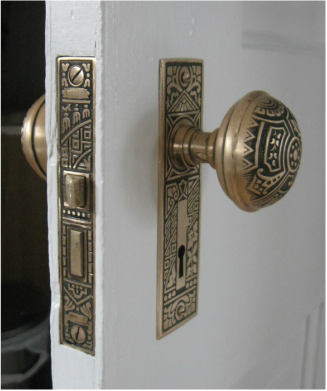
AFTER: Now you can see all of the detail. Not only in the knobs but, also in the Mortise Lock mechanism as well.
|
Corbin "Ceylon" 1895 Door knobs
The very ornate knobs shown last are original to the house. The “Ceylon” by P. & F. Corbin was one of the most popular of the late Aesthetic-era hardware patterns, combining all the great Anglo-Japanese motifs in a classic, accessible, and (at the time) affordable wrought bronze design that kept it in hardware catalogs well into the 20th century. This basic passage set has the typical domed knob variation and a rather rustic patina on the brass. Replacement knobs of this caliber range from $195 -to- $395 per set. Not too shabby.
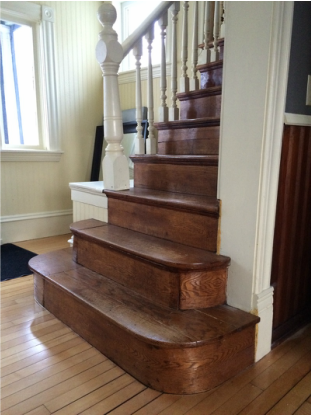
Steps to a new staircase
With having two staircases in the main house, I knew that I eventually wanted to redo them both but, wasn't to sure exactly how I was going to accomplish these tasks. Sure, I've seen the HGTV/ DIY shows that make projects like this appear easy and doable in a weekend. I've got a weekend to kill, lets see what I can do lol. I thought it wise to work on the back (Servant) staircase first. This way, if my ideas for this project don't pan out it's sort of hidden from the rest of the house. I can then use this area as a perfect environment to learn what methods work and....umm...well, what doesn't work out so well lol. Here's what happened and how it looks today.
Not much to look at, some of the tread boards were splitting and the railing was barely hanging on. heavy wear patterns too.
|

From landing of staircase.
|
After a GREAT deal of sanding and other prep work, I was able to finally put stain and paint on the stair case. Using a very dark (Ebony stain: by Minwax) and a crisp white trim pain (Lined with Silver: by Dutch boy) this staircase has a completely updated, modern feel.
|

She's a tiny staircase, but functional too. try to look past the busy wall paper for now.
|
